-
Notifications
You must be signed in to change notification settings - Fork 0
Baking the models to export them to other apps
This guide needs redoing, but it explains the basics of how baking works in Blender and the issues that our SWTOR materials lead to.
As it points out, baking works better with the Legacy version of our shaders instead of the current ones. This used to require us to install the "Legacy" version of the .gr2 Importer Add-on. Not anymore 🙂: we've added a Modern-to-Legacy materials converter to the SWTOR Character Assembler Add-on which also adds a baking target to each material. It's just a single click operation, as explained in its guide.
We are seeing about developing that into a fully featured, FBX-ready, baked texturemaps and Principled shader materials converter (that also allows to simply save the textures to some directory if needed). It'll take time, though.
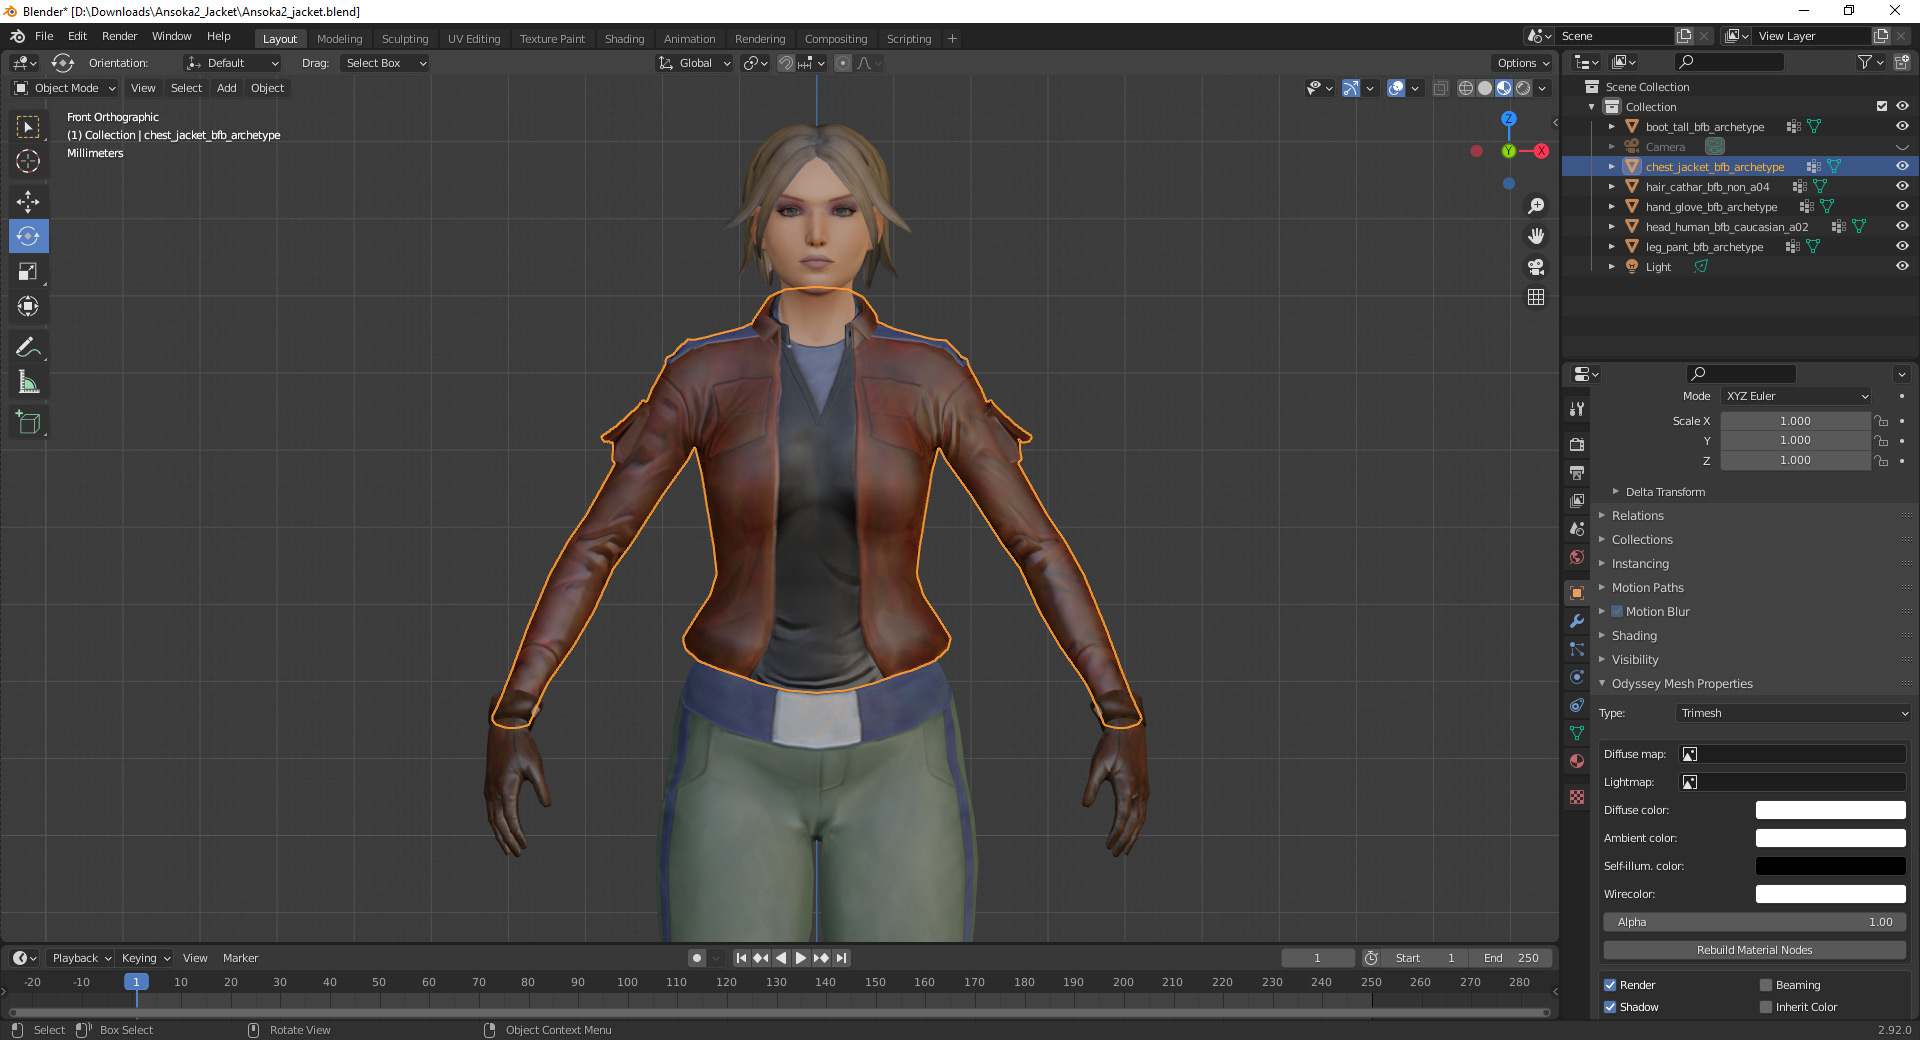
- Select a body part by clicking.
- Enter Shading tab and add an Image Texture node (not connected to anything).
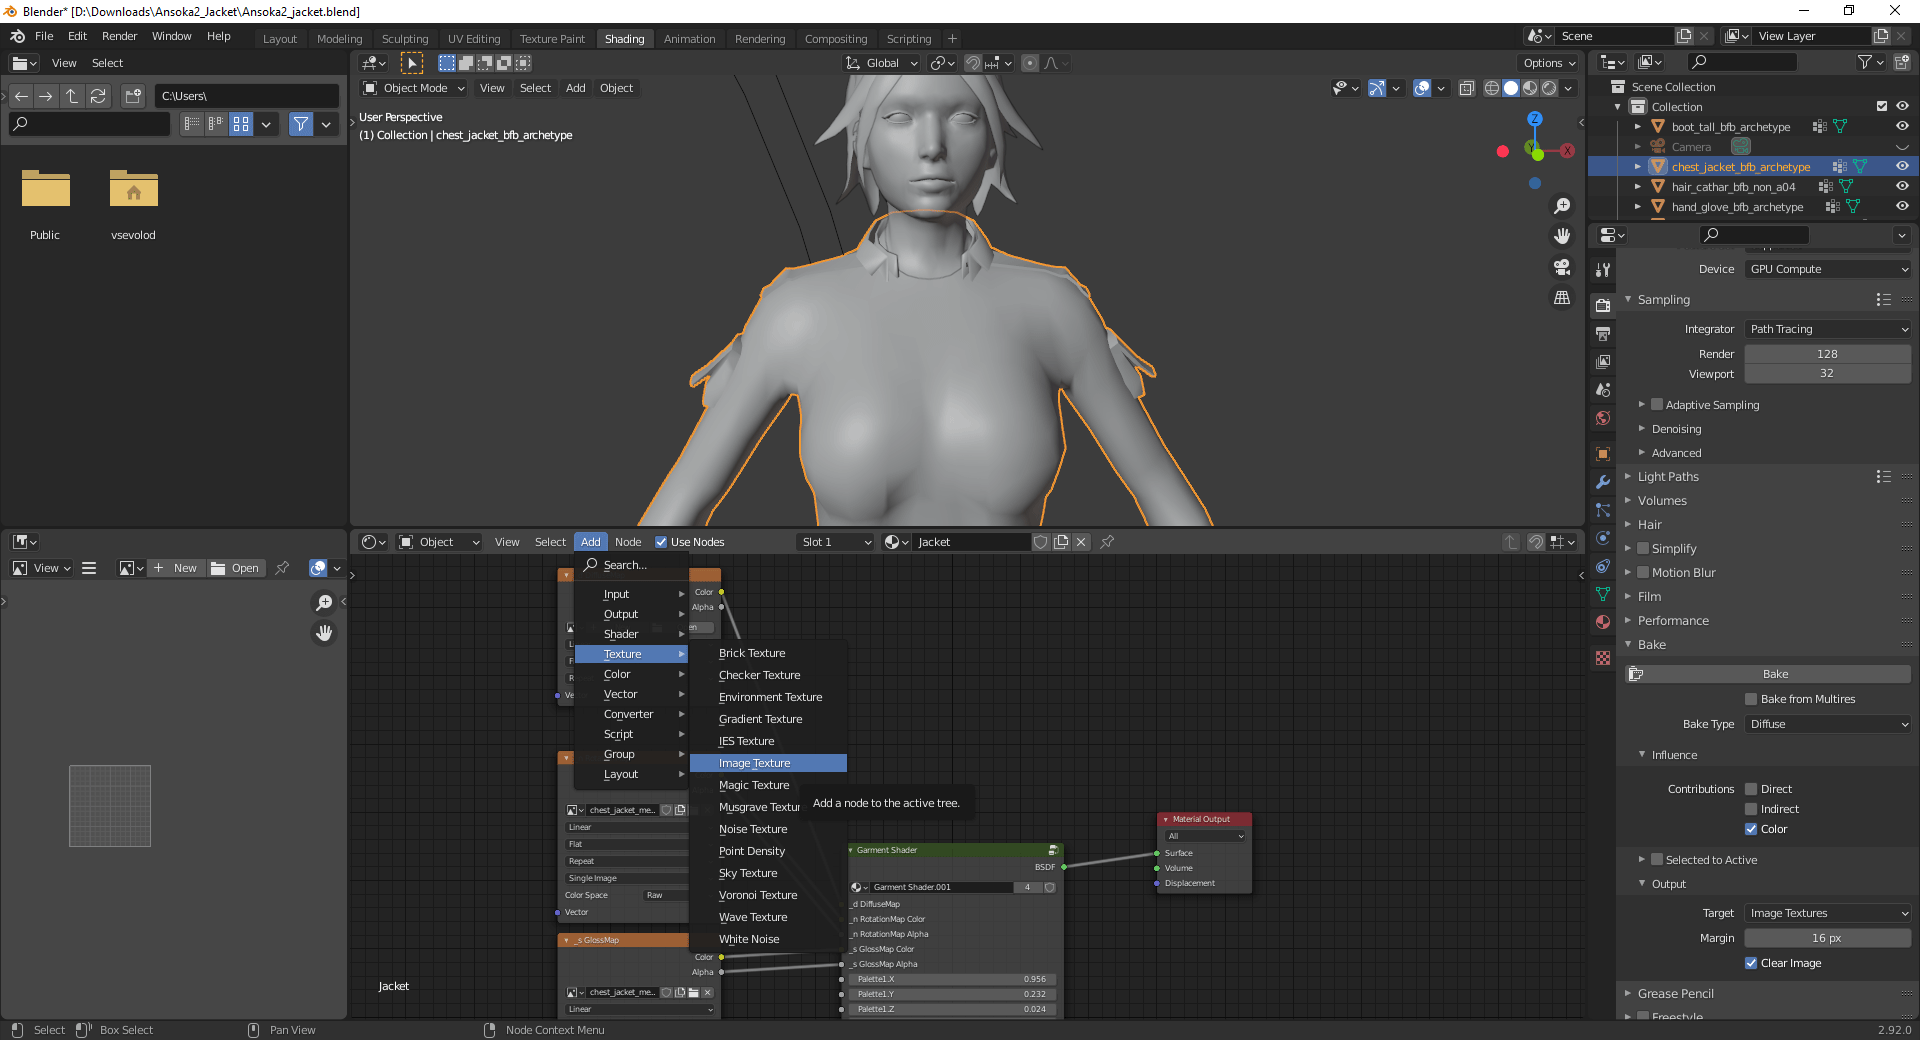
- In the Image Texture node press New and enter Name, Width and Height of the baked texture. make sure this node is selected (has a white border)!
Once this blank image is created, check that the Image Source property of the Node is set to Generated
(through the menu available in both the node and in the Sidebar's Node Properties panel). If not, attempting to Bake will produce an "Uninitialized image" error message.
- Blender's baking functionality is available only in Cycles. Select Cycles render engine and Diffuse bake type, tick only Color contribution and press Bake.
The image you created on step 2 should now be baked.
- Repeat steps 1-4 for every body part.
The process is exactly the same, but there is a problem and a workaround:
While the Legacy shaders calculate the diffuse color and the glossiness in a manner that lets Blender separate them in passes and isolate whichever we choose (they flow into a Principled BSDF shader inside), the new ones, being a more faithful replica of SWTOR's original shaders, add the specular to the diffuse entirely by themselves and Blender has no way to separate them.
The result is that the baked diffusemaps are actually diffusemaps with glossiness added on top. In matte objects such as fabric clothes that shows up as too bright a texture; in shiny ones such as leather they look like a bad Photoshop plastify filter.
So, we need to dial down the specularity to zero. A way to do that in all shaders that aren't Uber or Creature, such as Garment or HairC, is to set their Specular color wells to black.
It's not an absolutely perfect solution because those Specular settings only affect the recolorable areas of an object, and sometimes the models have non-recolorable bits that would exhibit the same problem. In this particular example, we can see some of that in Theron Shan's shirt under the jacket.
We are thinking about some long term general solution. Meanwhile, it might be advisable to use the Legacy shaders for building models meant to be baked and exported.
We do not condone the usage of our tools for malicious intent, including: exploits, harassment of others, or anything else that may violate EA/Bioware's EULA, TOS, DSA, Privacy Policy Copyrights, Trademarks, or anything else illegal. We will not be held accountable for your actions, and will act against you if nessesary.
- Home.
- State of Play January 2025
- Getting Help:
IMPORTING SWTOR MODELS INTO BLENDER: A BRIEF OVERVIEW.
Check this intro first. Afterwards, you can jump directly to the guides on extracting PCs, NPCs and others.
Downloadable Tools (All Links Page):
-
(NEW) ExtracTOR Windows app.
(Replaces the old Slicers GUI app) -
Blender 3D Windows/Mac/Linux app.
-
SWTOR .gr2 Objects Importer Blender Add-on.
Required by other add-ons. -
ZG SWTOR Tools Blender Add-on:
-
SWTOR Terrain Extractor Windows Command Line Tool.
-
TORCommunity.com:
(runs VERY slowly)- SWTOR Database (with NPC Exporters).
- Character Designer.
- EasyMYP Windows app.
- Noesis Windows app.
READ THE BROAD STROKES FIRST: YOU'LL SEE IT'S EASIER THAN YOU THINK!
-
The steps:
- Extracting SWTOR's game assets with ExtracTOR (WIP).
-
Using TORCommunity's Character Designer to export Player Characters.
- IF ARMOR SELECTION SEARCH IS DOWN: workaround to manually specify Armor Sets.
- Using TORCommunity's NPCs Database to export Non Playable Characters.
- Using our Blender add-ons to auto-assemble the model.
- Rigging the character for posing and animation
- Applying SWTOR animations to the character.
-
Extra steps that require manual work and some knowledge of SWTOR's assets:
-
Making capes and hair work, manually and through Cloth Simulation.
-
Attaching weapons and other objects to a character with a SWTOR rig.
-
Attaching weapons and other objects to a character with a custom rig.
-
Baking the models' textures and exporting to other apps:
- Baking with Legacy SWTOR materials and modern ones.
- Baking the multiple materials of an object into a single one.
- Exporting to VRChat.
- Exporting to Star Wars Battlefront II.
- Exporting to Unreal Engine.
- Exporting to Garry's Mod.
- Exporting to Tabletop Simulator.
-
3D Printing:
-
- Locating armor parts' assets
- Locating weapons' assets.
- Assigning materials and textures to environmental and architectural elements, furniture, props, ships, vehicles and weapons.
- Assembling multi-part assets (Decorations, Rooms, etc).
- Generic guide to importing objects and assigning materials (Legacy Add-on-based. Needs updating).
- Snippets.
- Improving and customizing our SWTOR models and materials.
- Other Extracting Strategies (needs updating).
- SWTOR Materials recipes:
Modding isn't working since SWTOR moved to 64-bit codebase. Unless a new coder takes charge, it'll stay so indefinitely.
- Alternative techniques:
- Modding SWTOR textures with Special K (USE CAUTION).
Basically, use Jedipedia.net's tools and check our Discord. We'll see about adding new material, but this is very involved stuff.
- File Formats:
(32-bit. Needs updating to 64-bit): - A look at SWTOR's Materials and Texture Files.