-
Notifications
You must be signed in to change notification settings - Fork 10
Using the Web UI
The page is intended for new users getting familiar with the Omega Web UI.
- Overview
- Notes on Performance
- Viewing the Universe
- Account Management
- Logging In
- Accessing your entities
- Context Dependent Actions
- Missions
- Audio & Other Effects
The following video is meant to serve as a quick primer to using the simulation interface.
TODO
# Notes on PerformanceRunning the Web UI requires a WebGL-enabled browser as well as enough network resources to retrieve the content from the web server. This content includes the 3D meshes to render the entities with, images to use as textures and backgrounds, and more.
While the effort to compress the content and look for minimization techniques is still underway, the user has ~30MB worth of data they need to d/l.
This only needs to be retrieved the first time the user visits the page though, the browsers cache will store it from there on out, and the browser will automatically detect and retrieve updates as they become available.
The 'loading' icon will appear in the lower left while resources and requests are loading, when it is gone everything has completed.

The systems with the most player entities are loaded by default when the user navigates to the main web ui page anonymously.
When Omega resources are loaded the user may access these by utilizing the locations menu in the upper right.
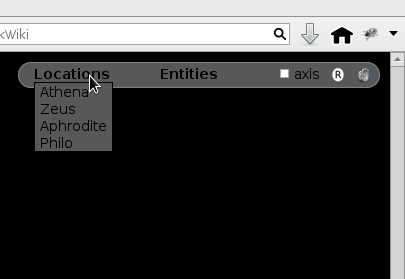
Click on a particular system or galaxy to view in the main area.
All of the entities in a system are refreshed when the system is loaded, these are accessible via the entities menu also in the upper right
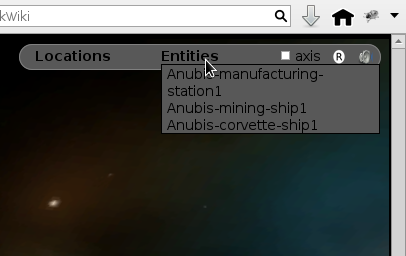
Clicking on a particular entity at any point will bring up the system it is in and focus the camera on it.
## Camera Controls & NavigationIn the main viewing area the mouse can be used to control the camera:
- Zoom in / out with the mousewheel.
- Hold the left mouse button and drag the mouse to rotate the camera.
- Hold the right mouse button and drag the mouse to pan the camera.
- Left click on certain particular entities to bring up information about them.
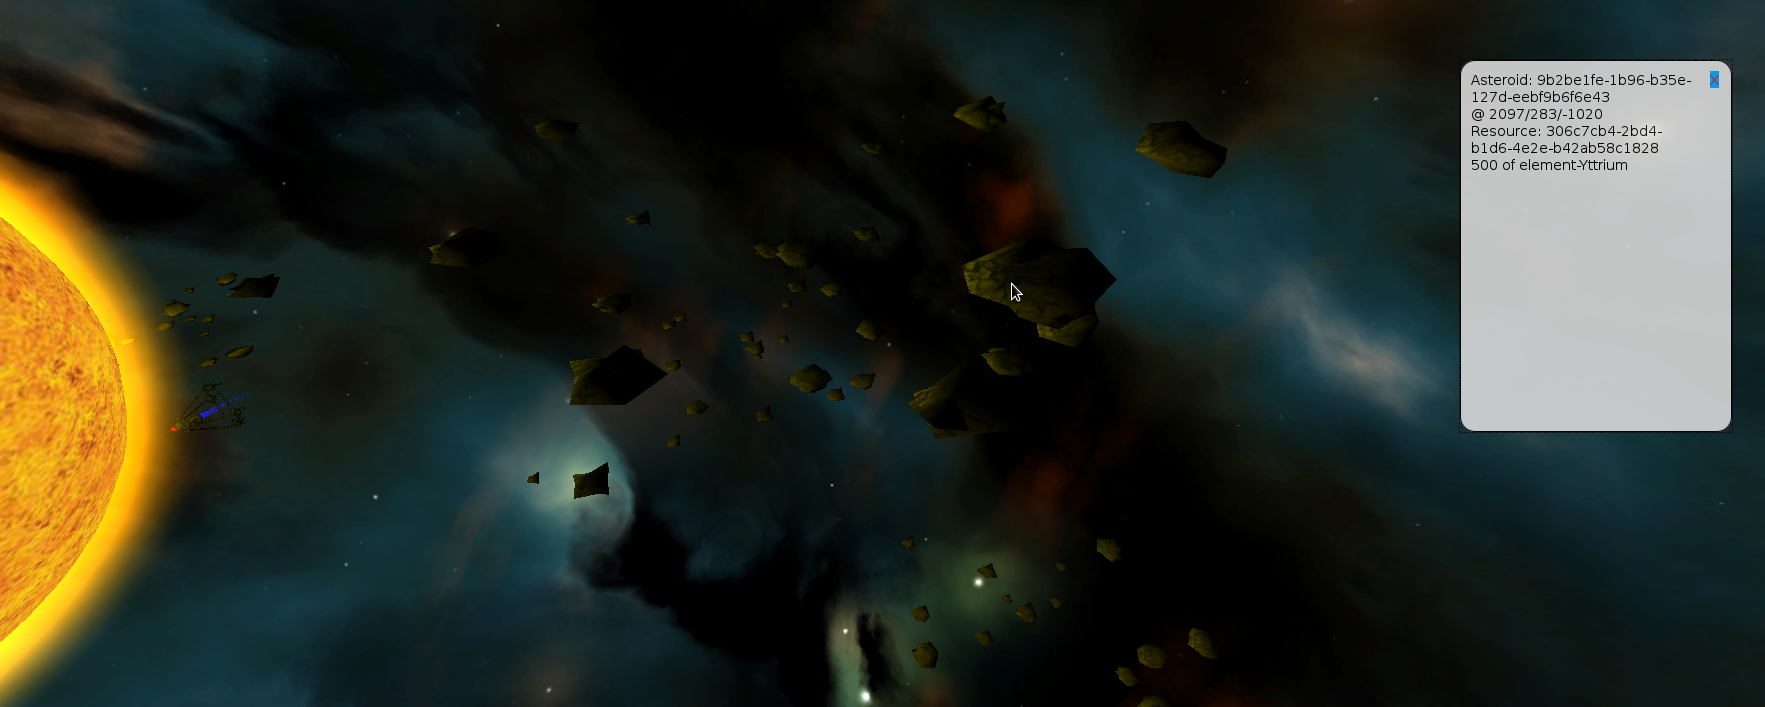
- Clicking on an asteroid will query the server and return the latest resources in the asteroid
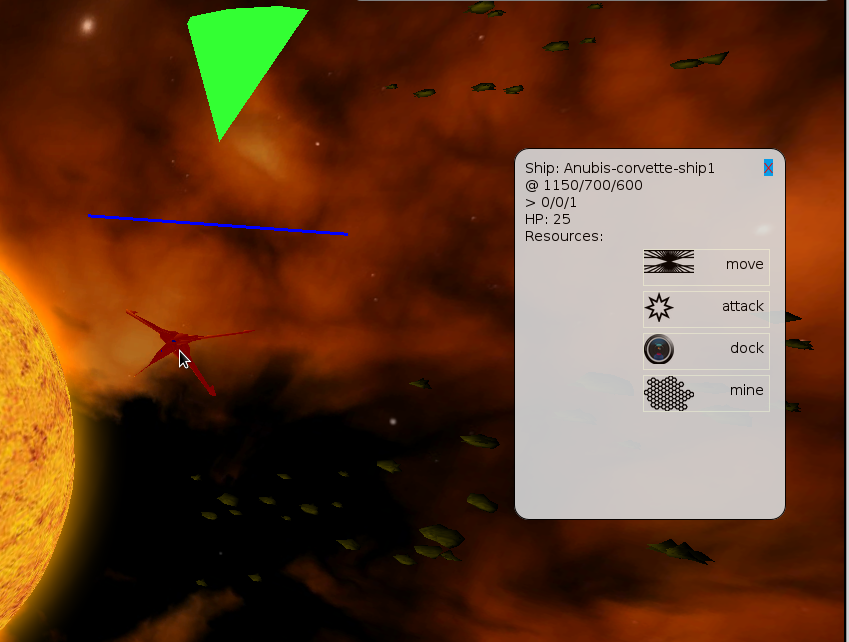
- Clicking on a ship or station will bring up information pertaining to the entity. If it is owned by the current user, the entity specific commands will appear in the container.
Before logging in
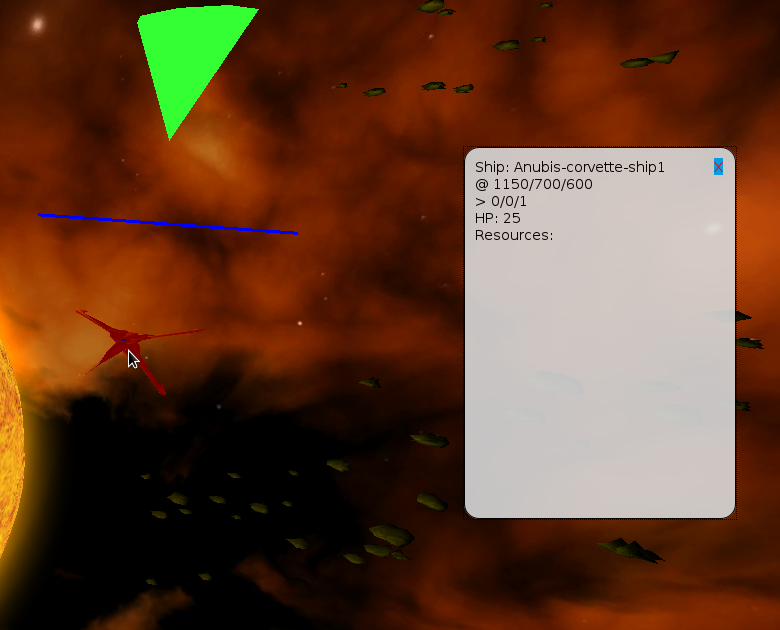
After logging in
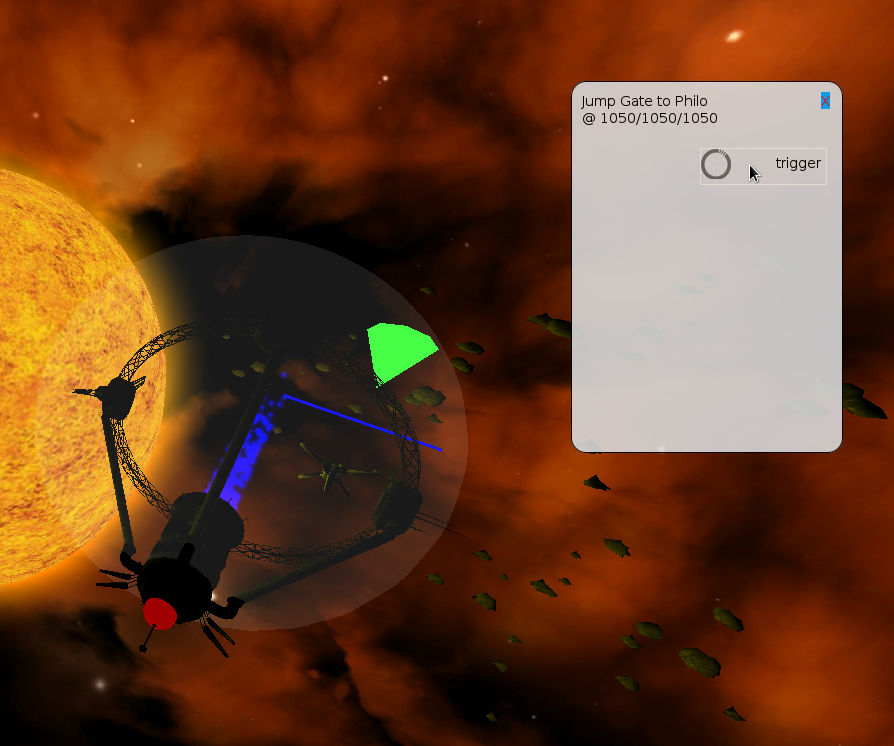
- Clicking on a jump gate will bring up its information as well as the trigger command if the user is logged in. It will also graphically render the trigger radius in which any user owned ships will be transported to the destination system when the gate is activated.
The arrow keys on the keyboard can also be used to pan the camera and other keyboard controls will most likely be wired up in the future.
# Account Management ## Existing AccountsIf the Omega Node admin has presetup accounts and/or disabled web registrations the user simply has to login to their account.
Else the user will need to register
## RegistrationWhile not logged in, click on the registration link in the upper left.

Fill in your account details, answer the recaptcha question, and submit.
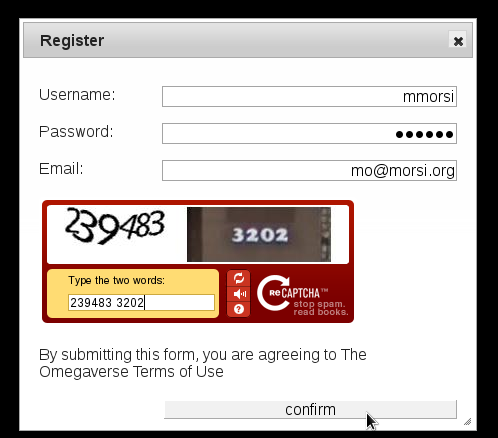
If your information is invalid (eg duplicate username, invalid email, etc) you will be notified of the error in the response.
Once submitted, the user account will be created but will not be accessible until the user clicks the link in the confirmation email sent.
Once done so the account will be activated and the user can login.
Note post-registration operations such as creating user ships depends on the admin setting up the necessary hooks
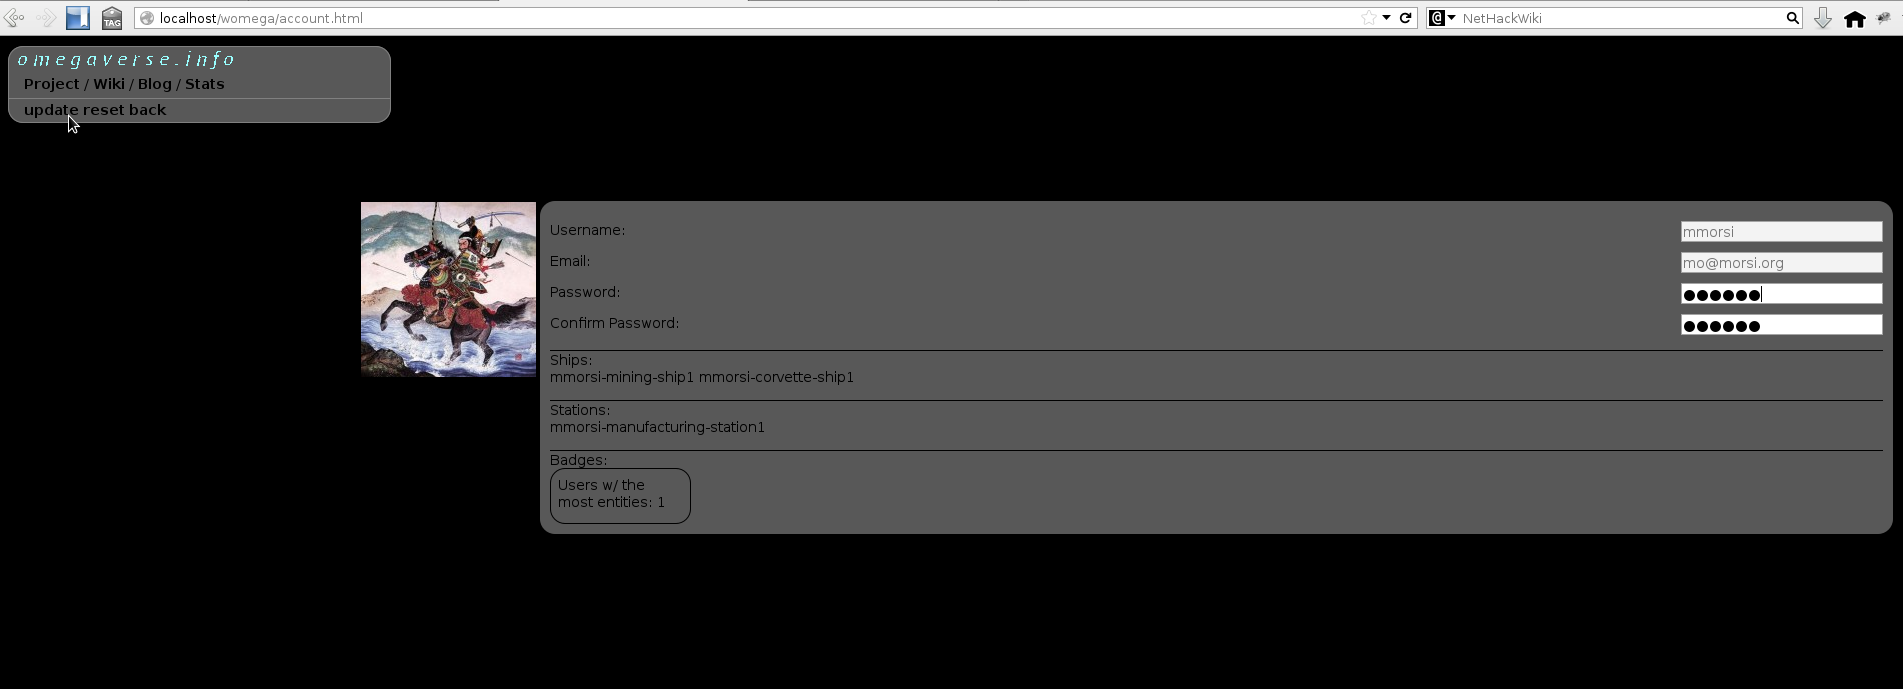
## Editing Your Account / Resetting Your PasswordAssuming the user is logged in they may access and modify account details via the 'Account' link the upper left.

On this page the user may view their username, email, gravatar, ships, stations, and badges.
The user may also change his/her password here by entering the new one w/ confirmation and clicking the 'update' link in the upper left
While on the main page anonymously click on 'Login' in the upper left to login.
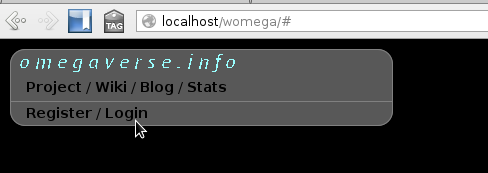

After a valid user name and password is entered and the form submitted the user session will be established and all the user owned entities will be retrieved / loaded (see below).
These entities will be tracked for the entire duration of the user session regardless of which systems they are viewing and what they have focused.
Thus if your ship is attacked while you are viewing another system for example you can be notified.
# Accessing your entitiesAfter logging in access the entities you own via the entities list in the upper right

Clicking on any of these entities will bring up the system it is in and focus on the entity.
# Context Dependent ActionsOnce logged in clicking on entities you own will yield additional access to manipulate and control them.
## Moving ShipsTo move a ship click on it to select it and then do one of two things:
-
Right click on the destination to move to
-
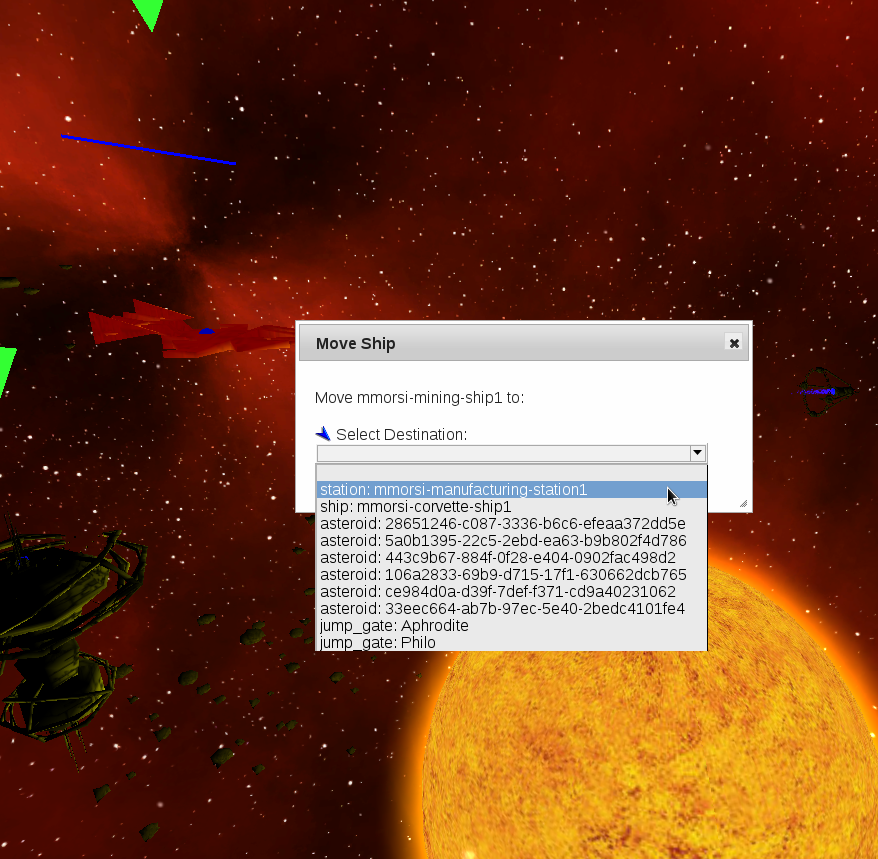
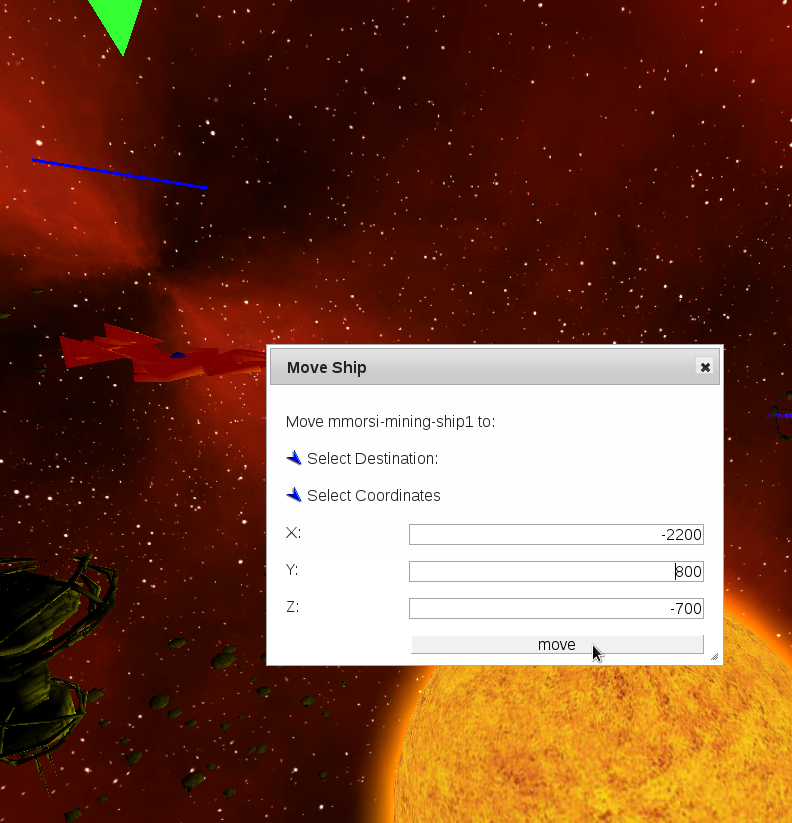
Click on 'move' and select the destination or enter the coordinates to move to
Dest Based Movement:
Coordinates Based Movement:
A Moving Ship:

When moving to a destination the ship will move into the vicinity of it on arrival so as not to collide with other entities moving to the same location. Moving to a specified coordinate set is a precise operation.
## Jumping Between SystemsWith ships in the trigger distance of a gate click on 'Trigger' to activate it and jump them to the destination system

Construction entities requires a manufacturing station as well as resources sufficient to construct the specified entity (blueprints and such are on the roadmap)
Provided these conditions are satisfied, the user can simply construct new entities by clicking the 'Construct' button in the station details container.
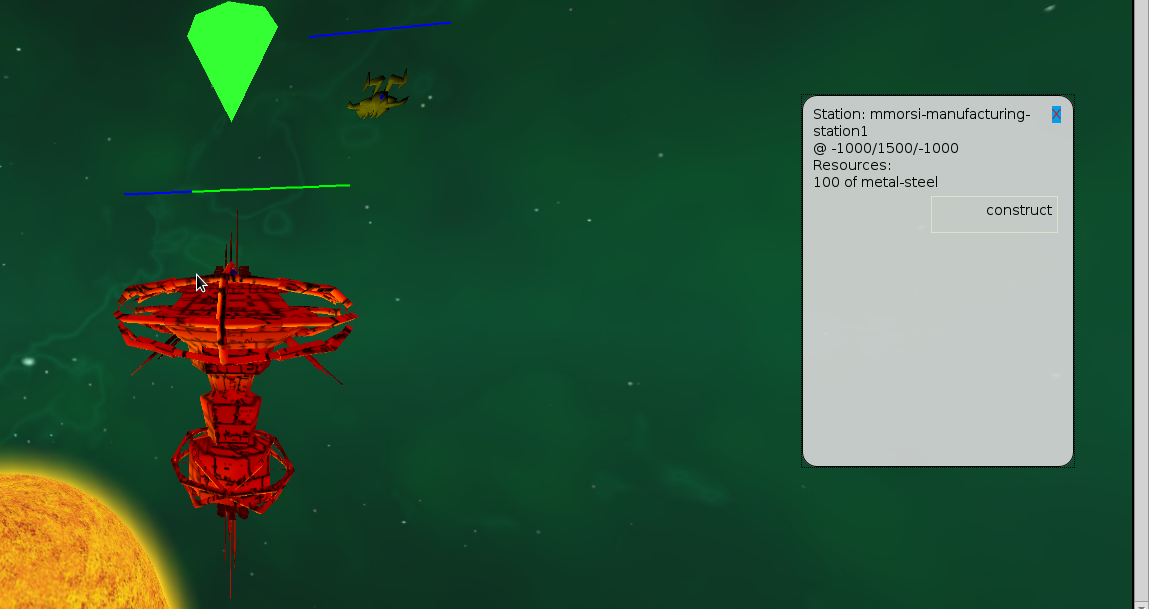
The construction progress will be rendered above the station after which the constructed entity will appear in the system
Note currently the entities that are constructed via the web interface use a static template. The server manufactured::construct entity allows the user to specify the entity type and properties to create and support for setting these is on the roadmap
See mining and Docking & Transferring below to acquire resources to build entities with.
## AttackingShips with offensive capabilities are able to attack other via the web ui.
With another user's ship in the vicinity, click 'attack' and then select the target to start attacking.
-missing screenshot- TODO

The attack cycle will be rendered in the browser and user's shield and hp will be depleted over time.
## MiningShips with mining capabilities are able to mine asteroids to extract resources.
With asteroids with resources in the vicinity, click 'mine' and then select the asteroid to start mining.
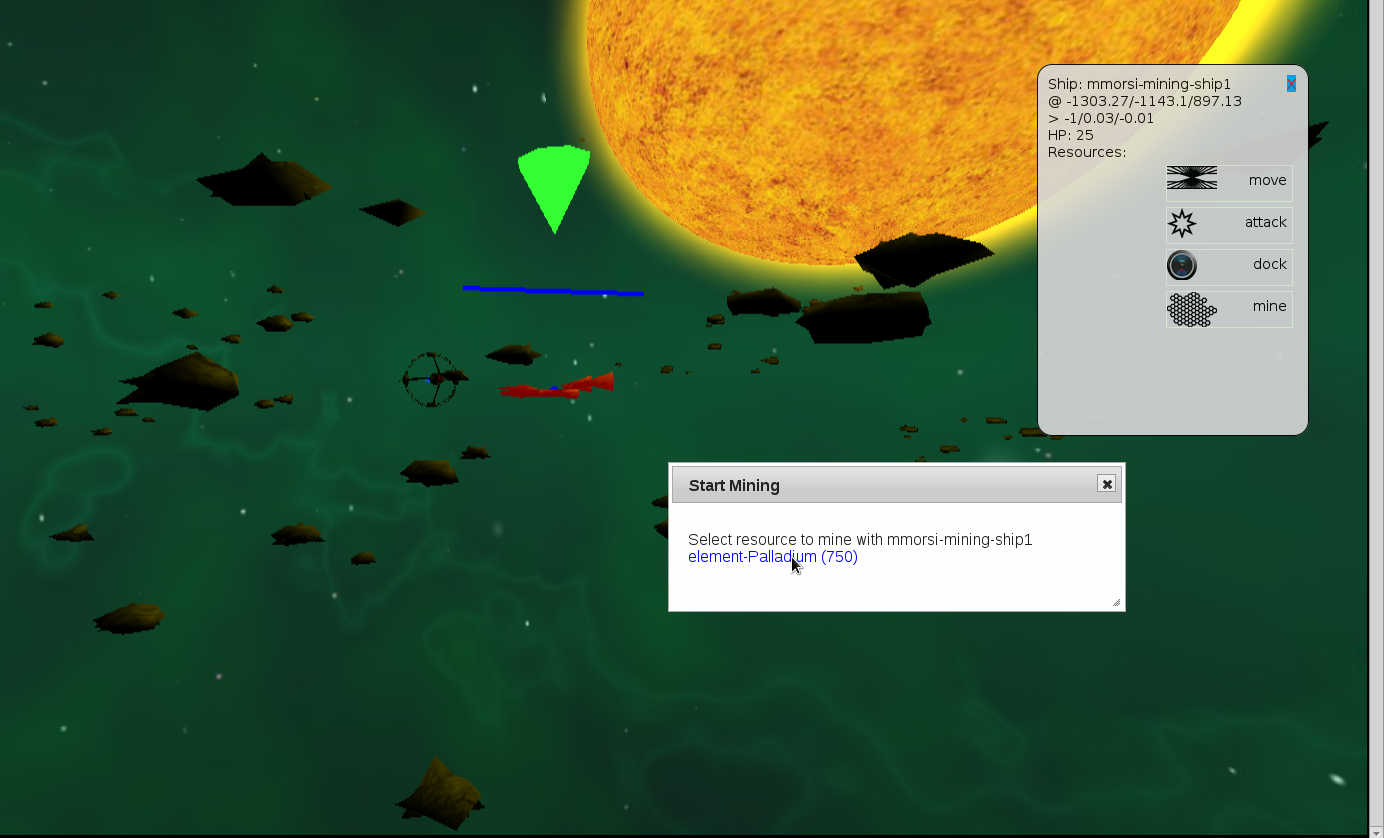
The mining cycle will be rendered in the browser and the ship's cargo will be filled with the resource until max capacity. After which the user may move the ship to a station and transfer the resources to be able to collect more.
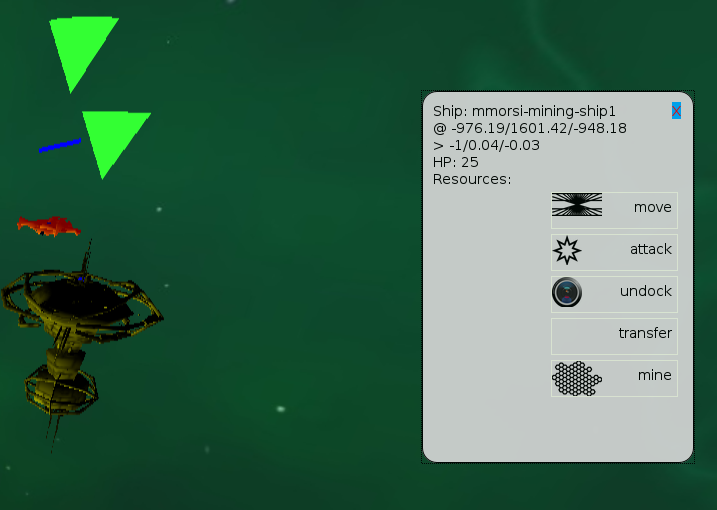
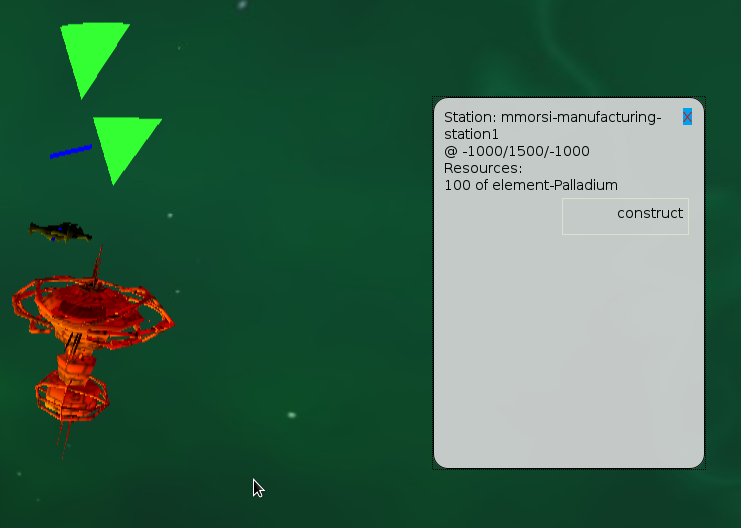
## Docking & Transferring ResourcesWhen in the vicinity of a user-owned station with a ship selected, click 'dock' and select the station to dock to the station.
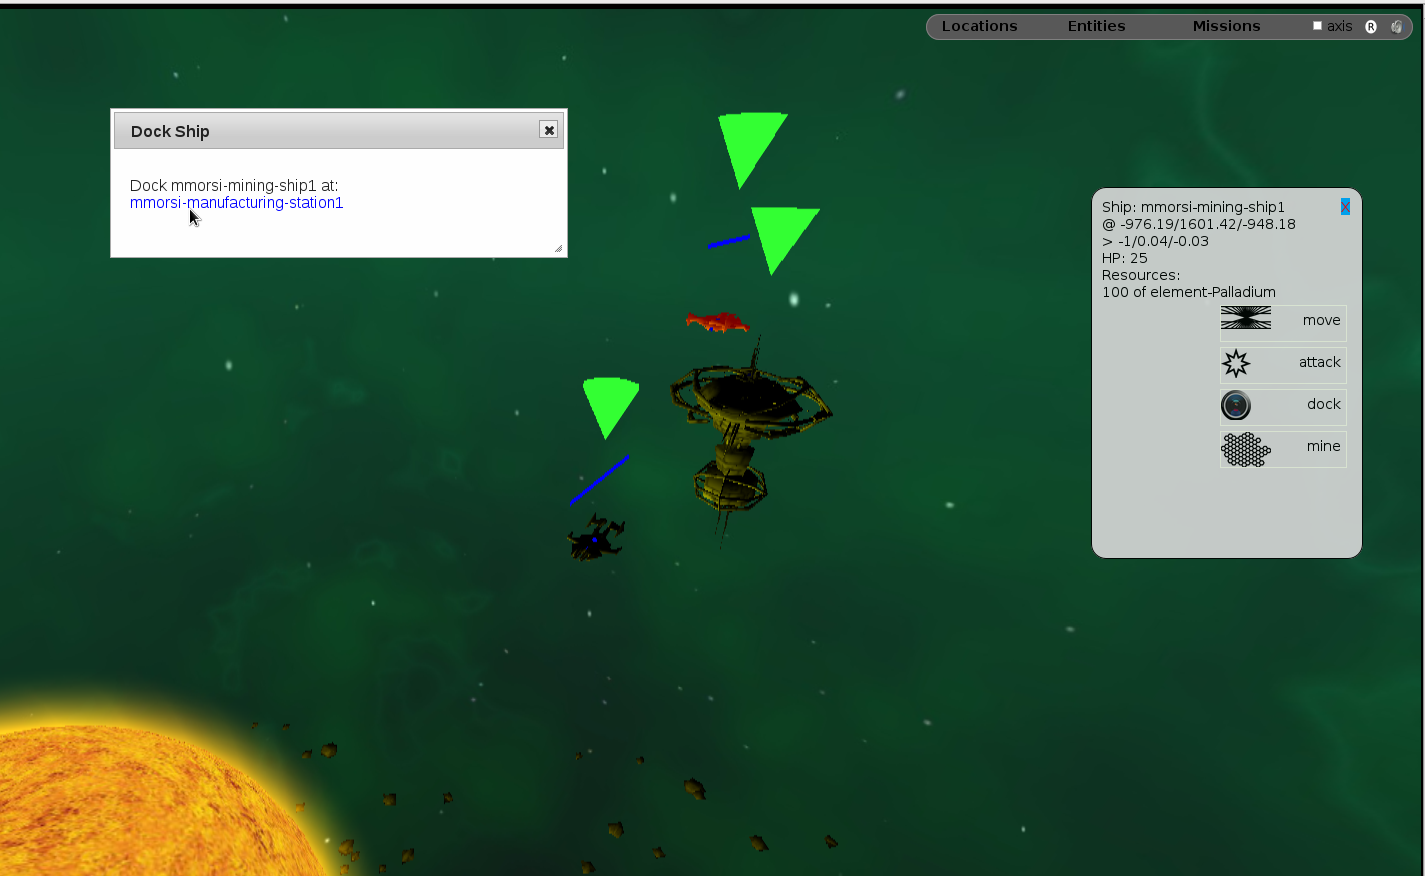
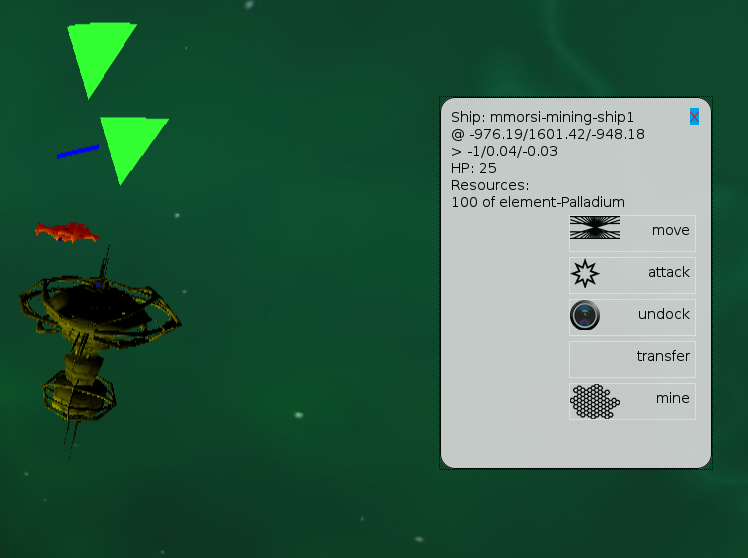
Once docked additional operations will be available including the transferring of resources. Simply click 'Transfer' and all the resources will be transferred from the ship's cargo to the station's
Pretransfer:
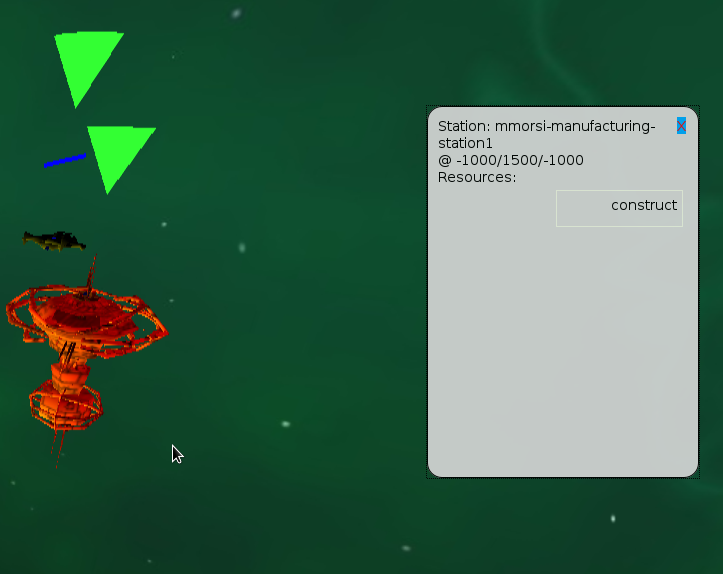
Posttransfer:
The mission UI may be accessed by any logged in user by clicking the 'Missions' button in the upper right.

The dialog that is rendered will depend on whether or not the user has an active mission.
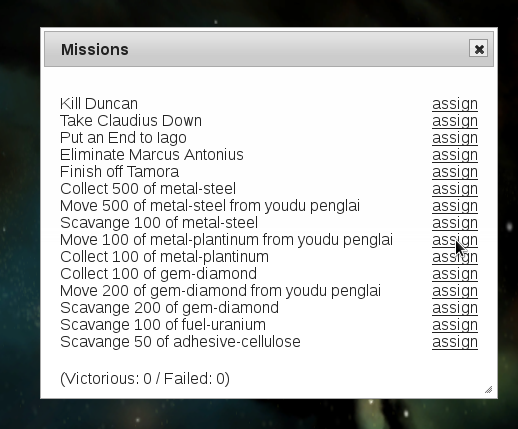
If not, the list of all the missions the user may accept will appear with a link next to each one to accept it. Additionally the number of missions the user has successfully completed and failed to date will be displayed.
If the user has an active mission the details pertaining to it will be rendered including the description, objectives, and the time the user has to complete.
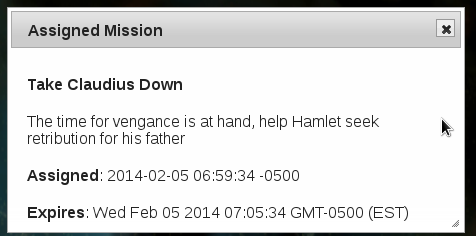
Failing to complete the mission by the specified time will result in the mission failure callbacks the admin setup with the server being triggered.
# Audio & Other EffectsEnable/disable audio by clicking the Mute/Unmute button in the upper right. There are only a few audio effects at the current moment, but adding more is on the roadmap (+ there are many great repositories online).
More 'content' level material, such as cutscene videos and backstory content / etc is also on the TODO list. Feel free to file issues or pull requests if you'd like to see this stuff happen faster.