Getting started with Cloud JAM
Cloud-JAM is the product accelerator (production grade solution) of ST functional pack P-NUCLEO-CLD1 that combines:
- NUCLEO F401RE
- NUCLEO SHIELD IKS01A2
- NUCLEO SHIELD NFC01A1
- NUCLEO SHIELD IDW01M1
At a firmware level the Cloud-JAM works the same way as those 4 hardware combined.
It means that any tutorial or guide regarding the Nucleo F401RE can work on Cloud-JAM.
This is a guide that aims to help those that are not familiar with stm32.
There are many IDEs that can work with Cloud-JAM, like IAR WorkBench, Keil, mbed, Platformio and more.
In this guide we will download System Workbench for STM32, a free IDE based on Eclipse provided by ST that allows build and debug completely for free.
You need to register here and follow the installation guide.
When prompted to install some drivers say always "Yes".
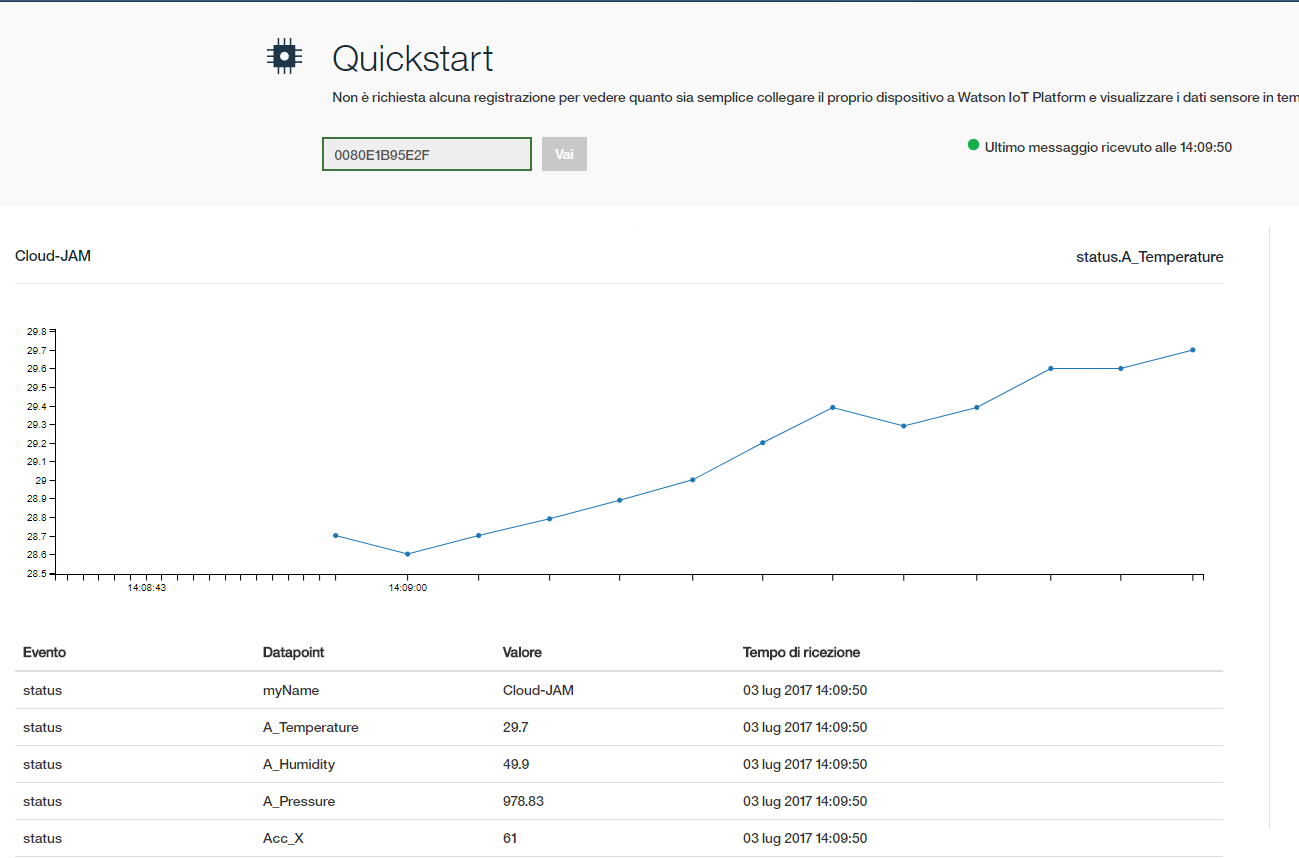
ST provides a cool example for the Nucleo F401RE (and so, for Cloud-JAM too) that connects the board to IBM Watson Cloud using the MQTT protocol.
The example will register the board on IBM using the board's UUID and by using the NFC of your smartphone you will get a URL where you can see all the data read from the Cloud-JAM.
Download this and extract the archive.
Note: You can also get the example here by registering on ST website.
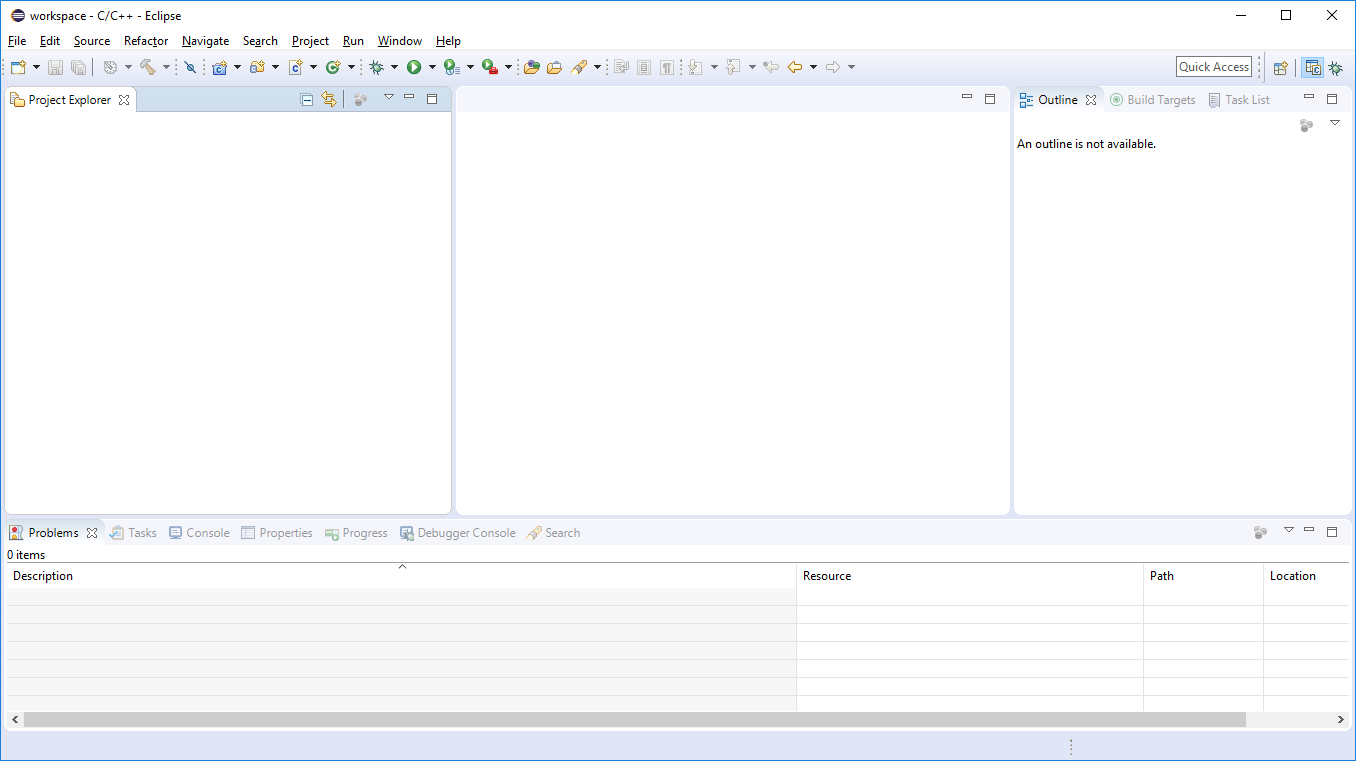
- Open System Workbench
-
File -> Open Project from File System
-
Click "Directory" and navigate down to the following folder:
STM32CubeFunctionPack_WATSON1_F4_V2.1.0\Projects\Multi\Applications\MQTT_IBM\SW4STM32\STM32F401RE-Nucleo\STM32F4xx-Nucleo-MQTT_IBM
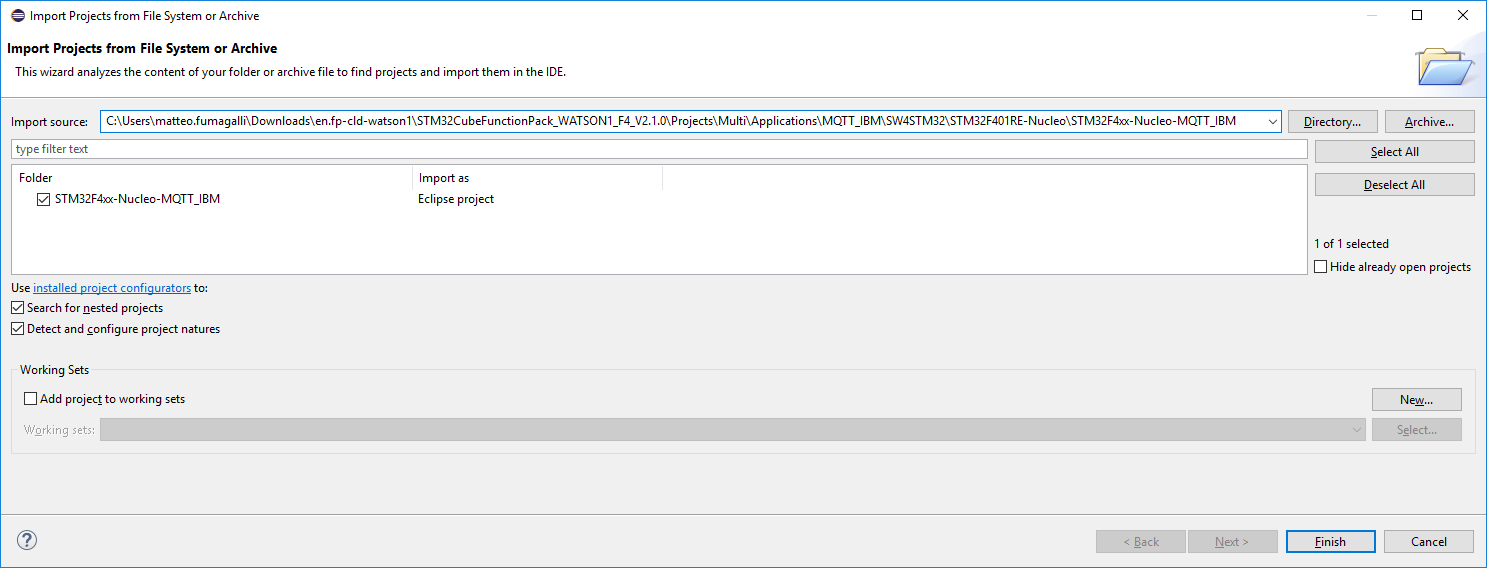
- Click "Finish"
The Cloud-JAM ships the sensors from IKS01A2, but the project defaults to IKS01A1 (older sensor shield). So we need to change the build configuration.
-
Left click on the main project folder and click "Properties" on the bottom.
-
Select "C/C++ Build"
-
Click "Manage configuration"
-
Select IKS01A2 and click"Set as Active"
-
Select IKS01A1 and click "Delete"
You should get the following:
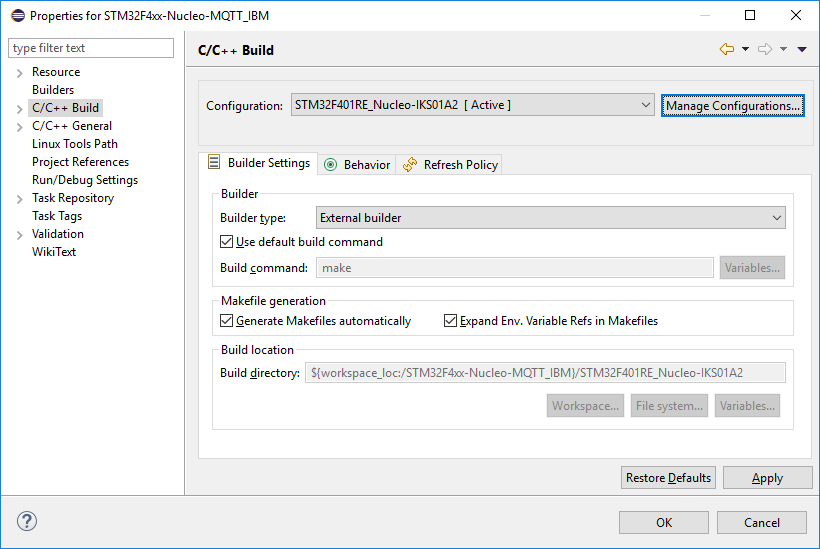
Click "Apply" and "Ok"
The project allows you to configure Wi-Fi SSID and password via NFC but this time we will configure the credentials by code.
-
Open main.c and go at line 211
-
Fill ssid and seckey with your credentials.
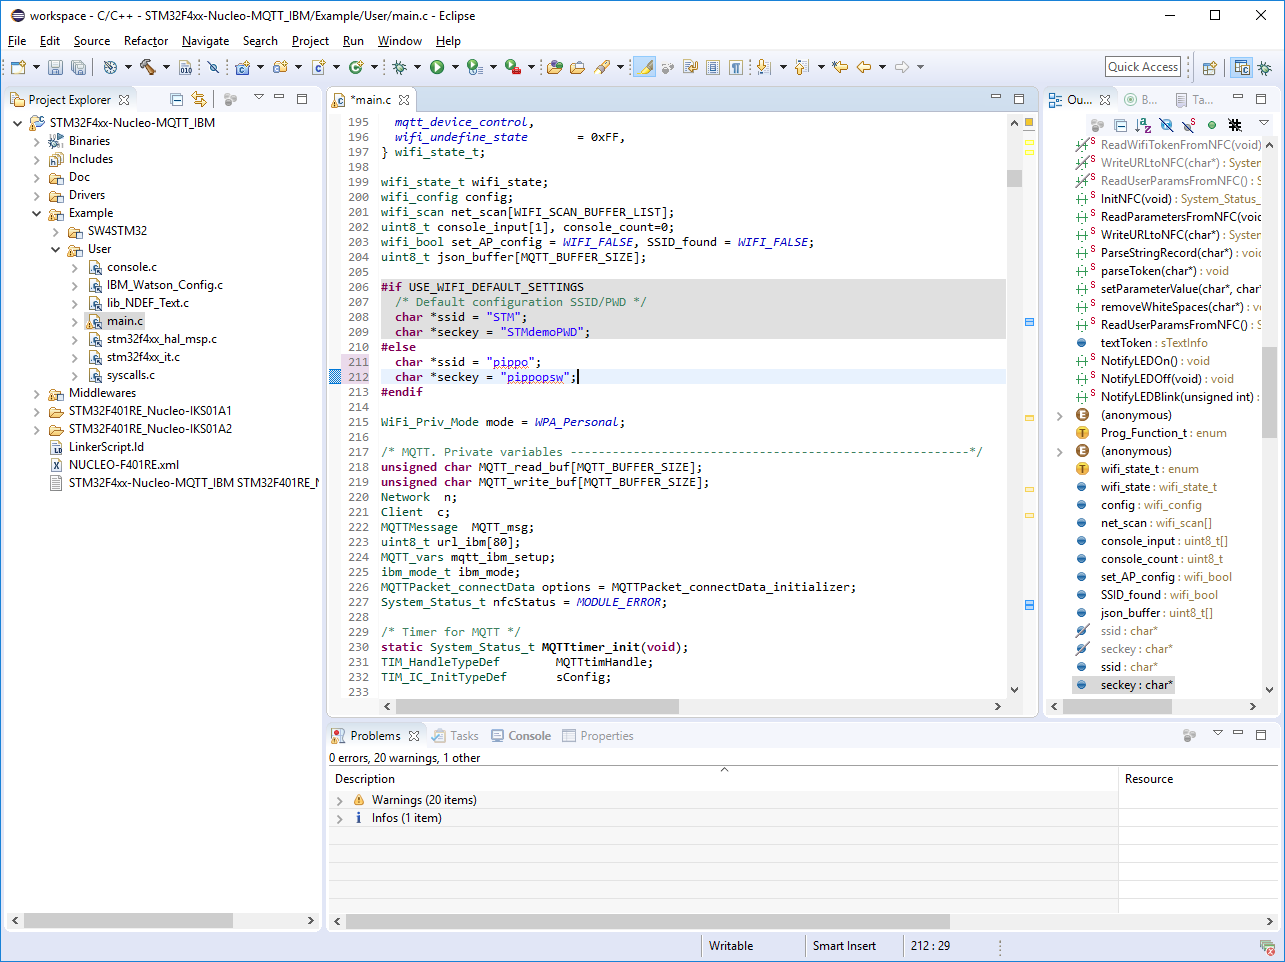
If ssid and seckey are NULL, credentials will be read from flash memory (or can be programmed via NFC).
-
Plug the Cloud-JAM with the USB cable
-
Click Run->Run
When the deploy is finished take your smartphone (NFC must be enabled!) and put it very near the Cloud-JAM.
The smartphone should ask you to open a webpage.
After some seconds you should get the data on the cloud.
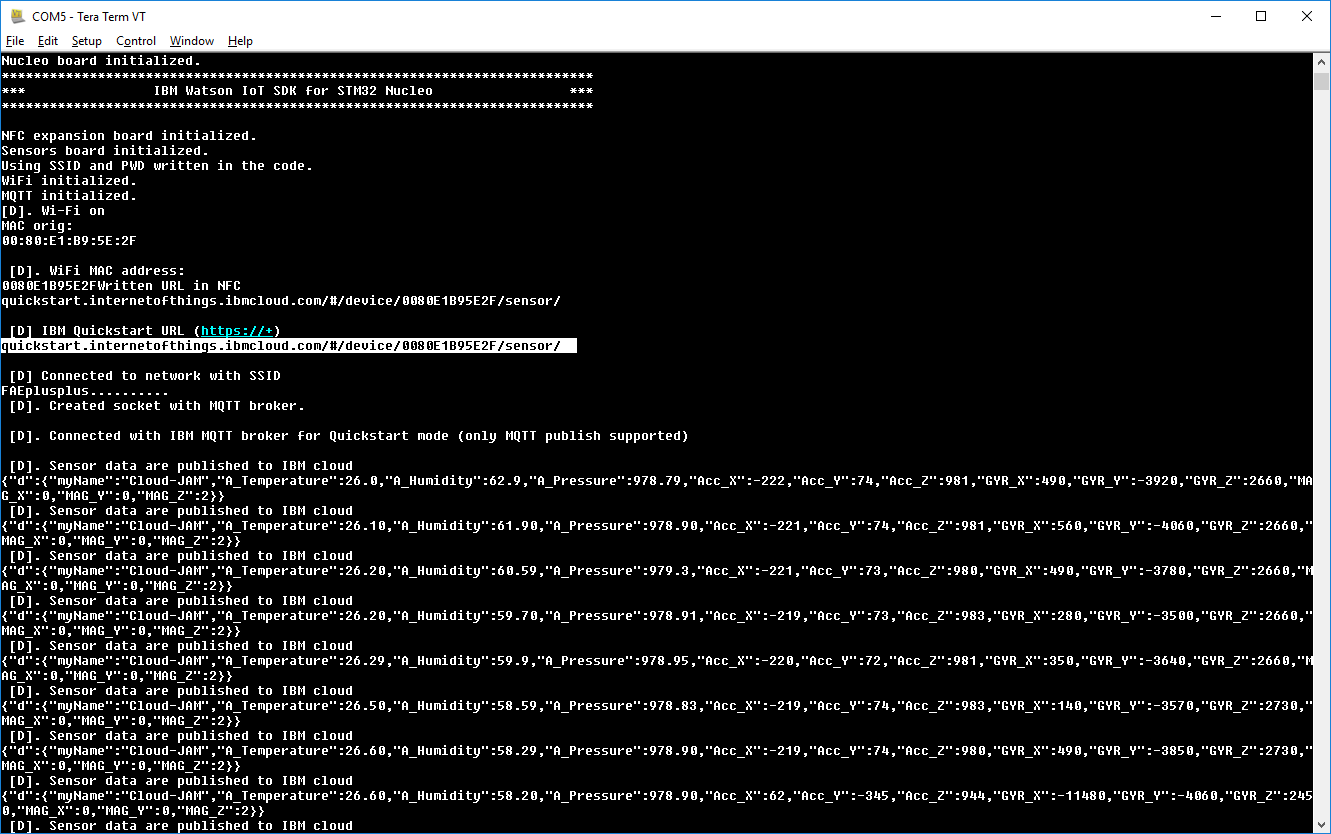
If you have some problems or your smartphone does not have NFC, you can see the URL and some other debug information on the Virtual COM.
-
Install TeraTerm
-
Setup->Serial Port
-
Detect in which COM your Cloud-JAM is, if you have more then one you can unplug the board and plug it again to see what COM gets added.
-
Set the serial port settings:
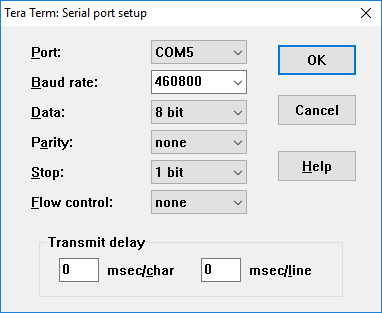
-
Press "OK"
-
Click the "RESET" button on the Cloud-JAM
Using Eclipse on windows you may get some strange error during the build like "missing dependency file xxxx.d". That's due to windows having problems with long paths.
Try to move the project to a directory closer to the drive, like C:/TEST
As said before, the example was created for Nucleo F401RE by ST. You can find a lot of information on their website:
http://www.st.com/en/embedded-software/fp-cld-watson1.html
The quick start guide explain also how you can program the Wi-Fi credential via NFC.