


In the first step of this guide, we built the Voice User Interface (VUI) for our Alexa skill. On this page, we will be creating an AWS Lambda function using Amazon Web Services. You can read more about what a Lambda function is, but for the purposes of this guide, what you need to know is that AWS Lambda is where our code lives. When a user asks Alexa to use our skill, it is our AWS Lambda function that interprets the appropriate interaction, and provides the conversation back to the user.
-
Go to http://aws.amazon.com and sign in to the console. If you don't already have an account, you will need to create one. If you don't have an AWS account, check out this quick walkthrough for setting it up.
-
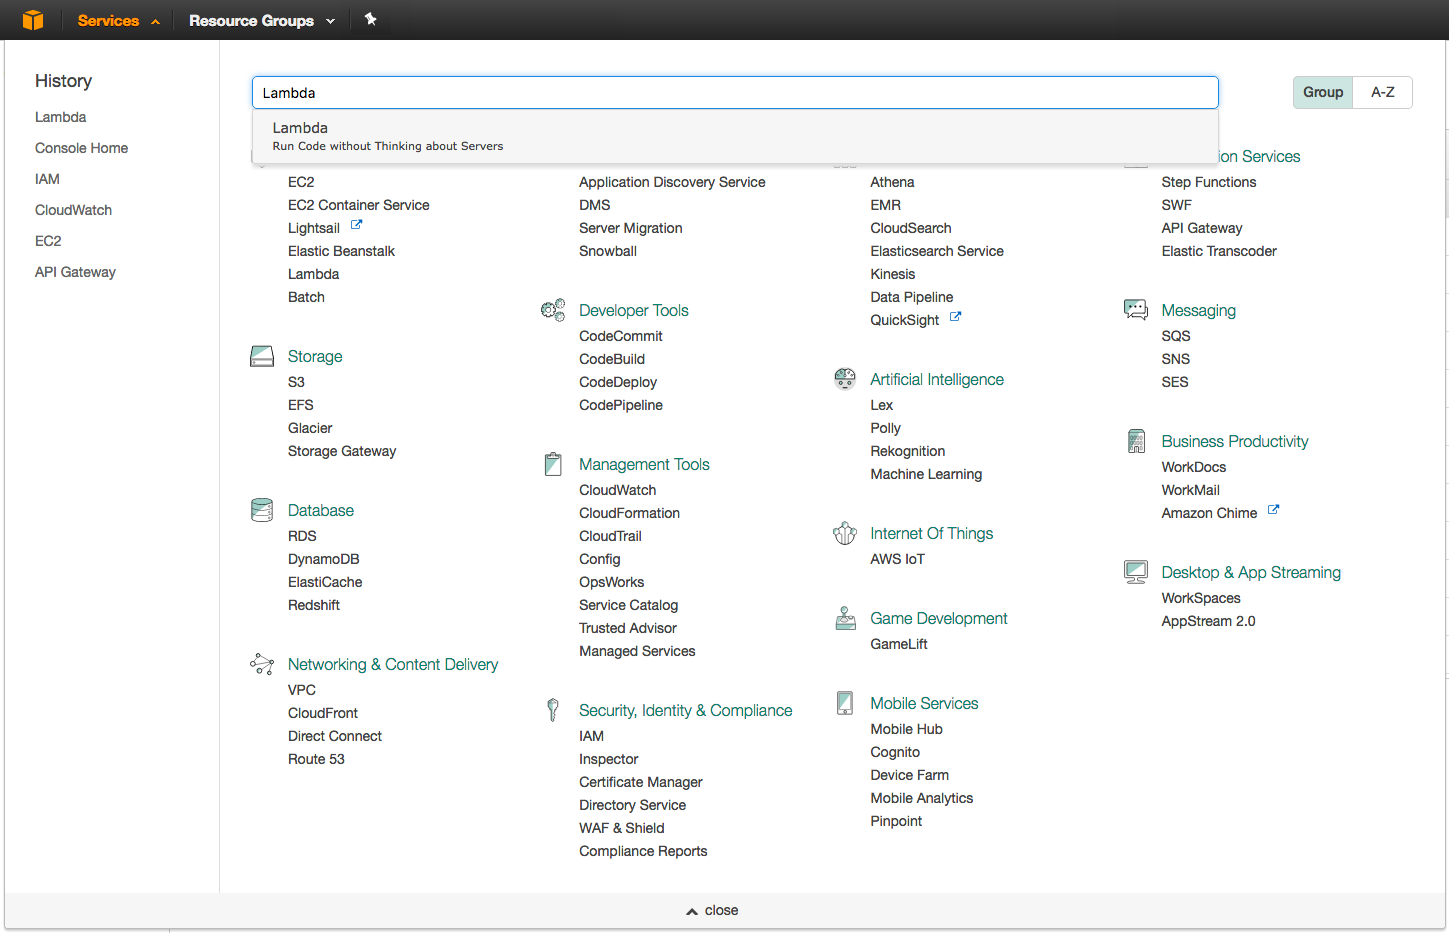
Click "Services" at the top of the screen, and type "Lambda" in the search box. You can also find Lambda in the list of services. It is in the "Compute" section.
-
Check your AWS region. AWS Lambda only works with the Alexa Skills Kit in two regions: US East (N. Virginia) and EU (Ireland). Make sure you choose the region closest to your customers.
-
Click the "Create a Lambda function" button. It should be near the top of your screen. (If you don't see this button, it is because you haven't created a Lambda function before. Click the blue "Get Started" button near the center of your screen.)
-
Skip the blueprint and choose your role.


- Under "Create Function", make sure that "Author from scratch" is selected.
- The name of your function will only be visible to you, but make sure that you name it something meaningful. "MinecraftHelper" is sufficient if you don't have another idea for a name.

-
Set up your Lambda function role. If you haven't done this before, we have a detailed walkthrough for setting up your first role for Lambda. If you have done this before, set your Existing role value to "lambda_basic_execution", then click the "Create Function" button in the bottom right corner.
-
Configure your trigger. Look at the column on the left called "Add triggers", and select Alexa Skills Kit from the list. If you don't see Alexa Skills Kit in the list, jump back to step #3 on this page.
-
Once you have selected Alexa Skills Kit, scroll down. Under Configure triggers, select Enable for Skill ID verification. A skill ID Edit box should appear. We will now retrieve your Skill ID from the developer portal.
-
Now lets secure this lambda function, so that it can only be invoked by your skill. Open up the developer portal and select your skill from the list. You mays till have a browser tab open if you started at the beginning of this tutorial.
-
Click the Skill Information Link.
-
Copy the Application ID provided in the main window. This is also known as a skill ID, and is unique to your skill.
-
Return back to your lambda function in the. You may already have this browser tab open from Step 11. Otherwise, open the lambda console by clicking here: AWS Console and selecting the appropriate function. Scroll down to Configure triggers, paste the Skill ID in the Skill ID edit box.
-
Click the Add button. Then click the Save button in the top right. You should see a green success message at the top of your screen. Now, click the box that has the Lambda icon followed by the name of your function and scroll down to the field called "Function code".
-
Zip your files locally then select "Upload a .ZIP file" as your Code Entry Type

- On your local machine, go to the
skill-sample-nodejs-howto/lambda/customdirectory and run the npm command:npm install
cd lambda/custom
npm install
-
Zip your files
-
Now under the section of the AWS page called "Function code", choose "Upload a .ZIP file" from the Code entry type dropdown. Then click "Upload" and select the zip file you just created.
-
Click the "Save" button.
-
For this guide, you can skip all of the Advanced settings.
-
After you create the function, the ARN value appears in the top right corner. Copy this value for use in the next section of the guide.

