
This application lets you manage multiple translation files at once.
The editor supports translation files with the following format:
JSONES6(JSON wrapped in a javascript ES6 module)Properties(java properties files, for example to be used for a ResourceBundle).
- Editing multiple translation files at once.
- Creating new translations/locales or editing existing ones.
- Renaming, duplicating, creating or deleting individual translations.
- Detecting missing translations.
- Minifying translations on save.
- Support for both nested as flat json structure.
The application requires java 8 to be installed on your system.
http://www.oracle.com/technetwork/java/javase/downloads/jre8-downloads-2133155.html
You can download the latest release by going to this page and downloading the .zip file.
If you're on Windows you can install the application by running the .exe file. If you're on Mac you can use the application by running the .app file. If you're on Linux you can use the application by running the .jar file.
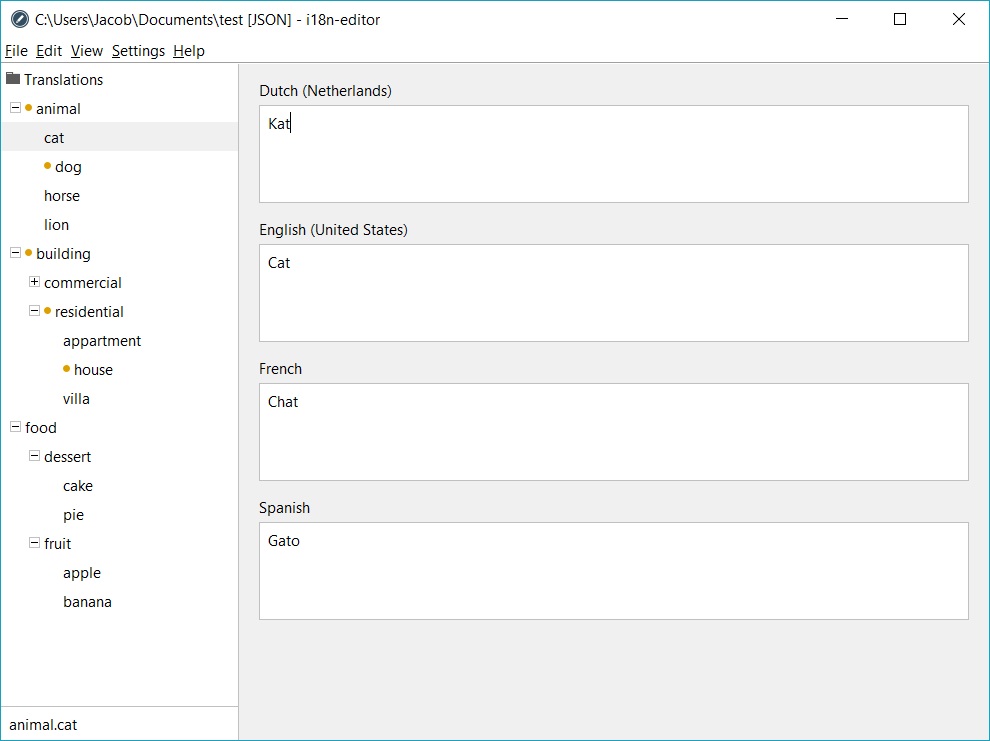
To start, open the application and go to File > New Project to create a new project. After choosing the desired file format for your translations, select the root directory where you want to store your translation files. After selecting the root directory you'll be asked to add your first locale. From here you can add more locales by going to Edit > Add Locale... or start adding translations either via Edit > Add Translation..., via the right click menu in the left side panel or via the key field at the bottom of the left side panel. Each time you start the editor it will open the last project you was working on. You can always import an existing project by going to File > Import Project... and selecting the root directory of your existing project.
The translations files can be stored in two different ways. Either using flat file structure or using directories.
When using flat file structure the translations files are all in the same directory and follow the name pattern translations_en_US, translations_nl_NL etc. (the name and place of the locale within the name can be changed in the settings menu).
When using directories, the directory will be named after the locales and the files within these directories will be of the from translations (customizable via the settings menu).
For Properties formatted translation projects a default translation file will be created called translations.properties (customizable via the settings menu), this is the fallback translation file (which is common for a java ResourceBundle).
In the tree on the left side of the editor translations with missing values will be marked with a yellow icon in front of them.
You can access the settings of the editor by going to Settings > Preferences.... Here you can change the filename of the translation files you want to use (by default they are named translations), select whether you want to minify and or flatten the translations on save and change interface related properties. Some of this settings can also be applied on each project individually via Settings > Project Preferences....
Do you want this editor to be in your native language? You are free to create a pull request or issue with a new translation file of your desired language. Take a look at src/main/resources/bundles on how to create a translation file.
This project is released under the MIT license.