A Python 2/3 Raspberry PI Character LCD library for the Hitachi HD44780 controller.
Tested with the 20x4 LCD that is sold for example by adafruit.com or mikroshop.ch.
Also tested with a 16x2 LCD from mikroshop.ch.
This library is inspired by Adafruit Industries' CharLCD library as well as by Arduino's LiquidCrystal library.
The GPIO access is provided by the great RPIO library.
- Simple to use API
- Support for both 4 bit and 8 bit modes
- Python 2/3 compatible
- Caching: Only write characters if they changed
Basic text output with multiline control.
>>> from RPLCD import CharLCD
>>> lcd = CharLCD()
>>> lcd.write_string('Raspberry Pi HD44780')
>>> lcd.cursor_pos = (2, 0)
>>> lcd.write_string('http://github.com/\n\rdbrgn/RPLCD')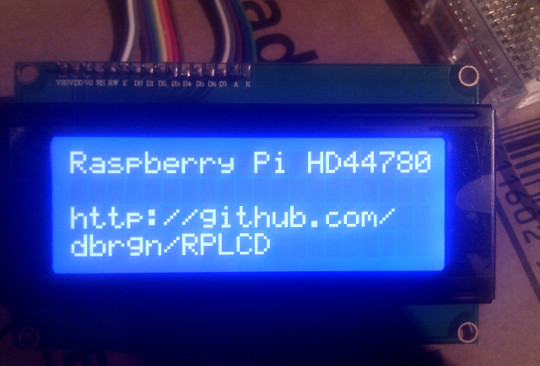
Unlike other uses of context managers, these implementations prepare the configuration before writing to the display, but don't reset it after the block ends.
>>> from RPLCD import CharLCD, cleared, cursor
>>> lcd = CharLCD()
>>>
>>> with cleared(lcd):
>>>     lcd.write_string('LCD is cleared.')
>>>
>>> with cursor(lcd, 2, 0):
>>> lcd.write_string('This is he 3rd line.')(TLDR: Use pip install RPLCD)
As prerequisite to build the RPIO dependency, you need the python-dev
package. And to install the package itself, you'll want to use pip. Both
should already be installed on a regular Raspbian image. Otherwise, install
them:
$ sudo apt-get install python-dev python-pip
I would recommend you to always use virtualenv and virtualenvwrapper when developing Python applications. This way, you have an isolated environment for each project, which prevents package version conflicts.
To install virtualenv and virtualenvwrapper:
$ sudo apt-get install virtualenvwrapper
Log out and back in to activate the virtualenvwrapper scripts. Then create a new virtualenv:
$ mkvirtualenv myproject
To enable the virtualenv, use workon myproject and to disable it use
deactivate.
Then install the RPLCD library with its dependencies:
$ pip install RPLCD
If you want you can also skip the virtualenv part and install the library system-wide. In that case just run pip as root:
$ sudo pip install RPLCD
You can also install the library manually without pip. Either just copy the
scripts to your working directory and import them, or download the repository
and run python setup.py install to install it into your Python package
directory.
The standard wiring configuration uses the following pins (BOARD numbering scheme rev 2):
- RS: 15
- RW: 18
- E: 16
- Data 4-7: 21, 22, 23, 24

import RPIO
from RPLCD import CharLCD

# Initialize display. All values have default values and are therefore
# optional.
lcd = CharLCD(pin_rs=15, pin_rw=18, pin_e=16, pins_data=[21, 22, 23, 24],
              numbering_mode=RPIO.BOARD,
              cols=20, rows=4, dotsize=8)

...

# If desired, reset the GPIO configuration and optionally clear the screen.
# Note that this can lead to undesired effects on the LCD, because the GPIO
# pins are not configured as input or output anymore.
lcd.close(clear=True)display_enabled->True/Falsecursor_pos->(row, col)text_align_mode->Alignment.left/Alignment.rightwrite_shift_mode->ShiftMode.cursor/ShiftMode.displaycursor_mode->CursorMode.hide/CursorMode.line/CursorMode.blink
write_string(value): Write the specified string to the display. You can use newline (\n) and carriage return (\r) characters.clear(): Overwrite display with blank characters and reset cursor position.home(): Set cursor to initial position and reset any shifting.shift_display(amount): Shift the display. Use negative amounts to shift left and positive amounts to shift right.
write(value): Send a raw command to the LCD.command(value): Write a raw byte to the LCD.
cursor(lcd, row, col): Control the cursor position before entering the block.cleared(lcd): Clear the display before entering the block.
To test your 20x4 display, please run the test_20x4.py script and
confirm/verify each step with the enter key. If you don't use the standard
wiring, make sure to add your pin numbers to the CharLCD constructor in
test_20x4.py.
To test a 16x2 display, procede as explained above, but use the test_16x2.py
script instead.
- TC2004A-01 Data Sheet: http://www.adafruit.com/datasheets/TC2004A-01.pdf
- HD44780U Data Sheet: http://www.adafruit.com/datasheets/HD44780.pdf
This code is licensed under the MIT license, see the LICENSE file or tldrlegal for more information.