-
Notifications
You must be signed in to change notification settings - Fork 17
Getting a Discord Token
To use the RankSync plugin, you'll need a Discord bot. In this tutorial you'll learn how to create a Discord bot and how to get its private token.
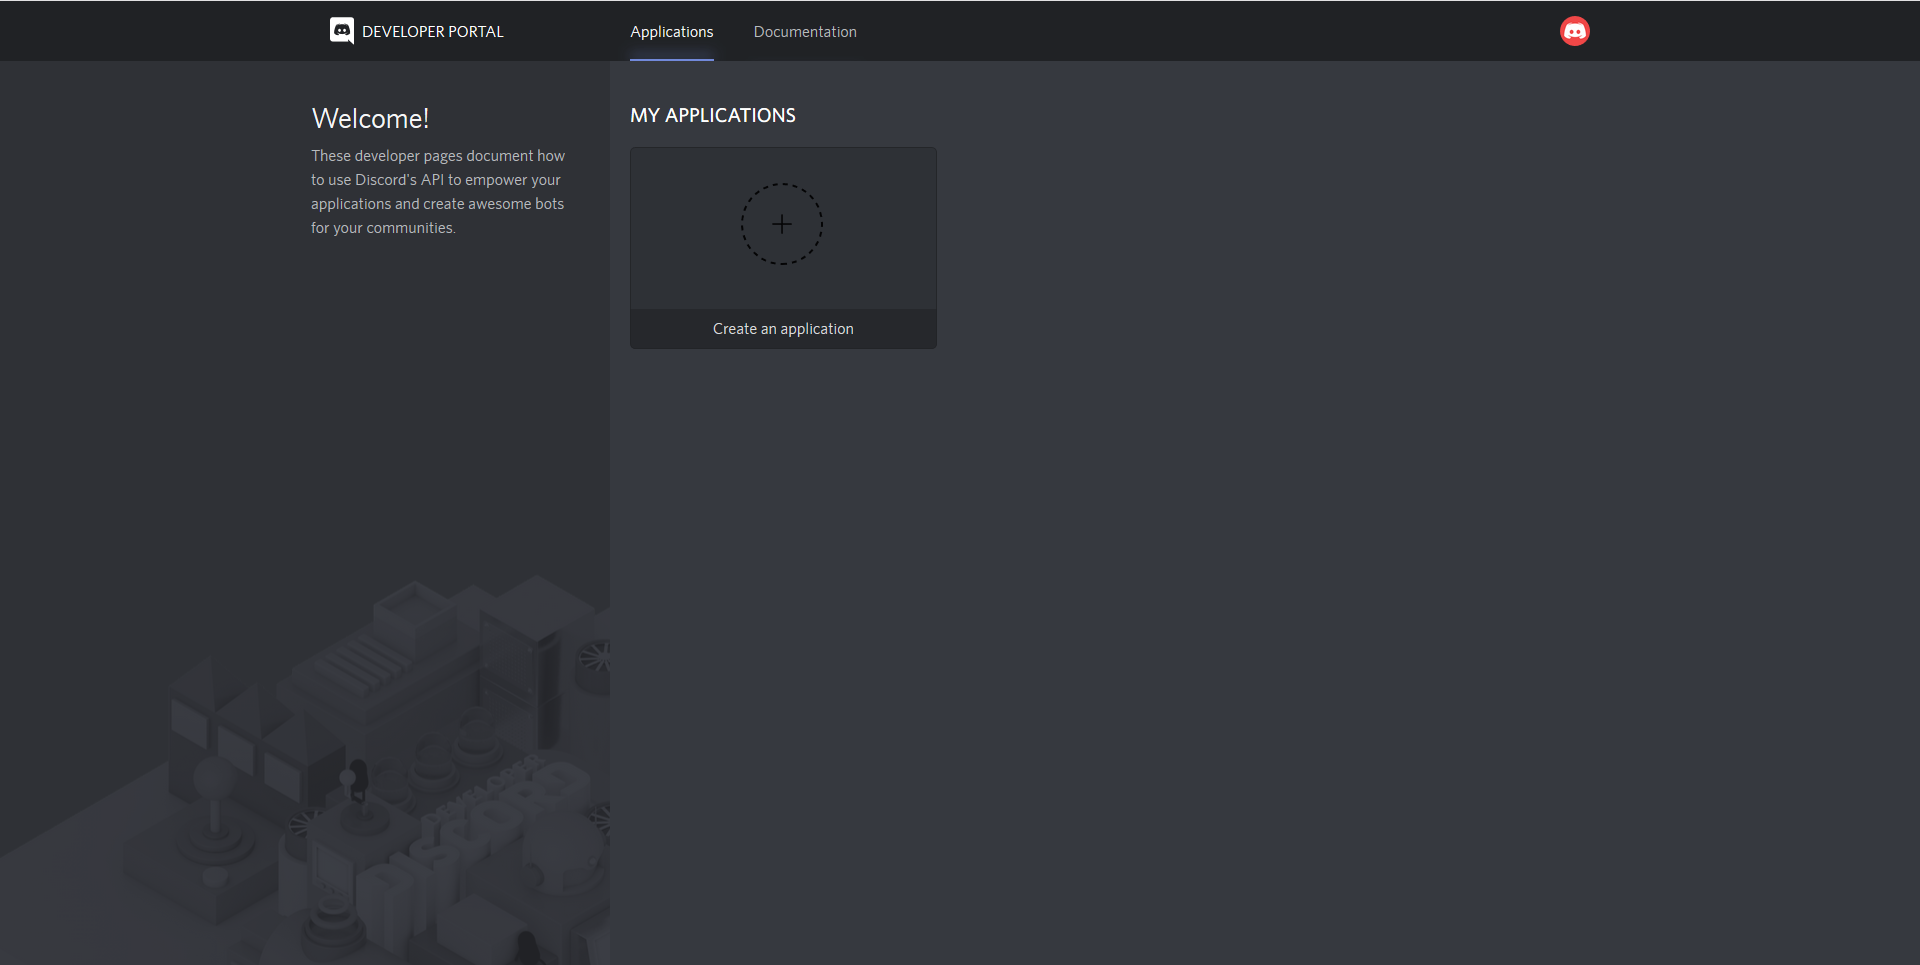
At first, we're going to this page: Discord Applications, please make sure you're account has a verified mail account. When you're on this screen, you'll have to click on the Create an application button.
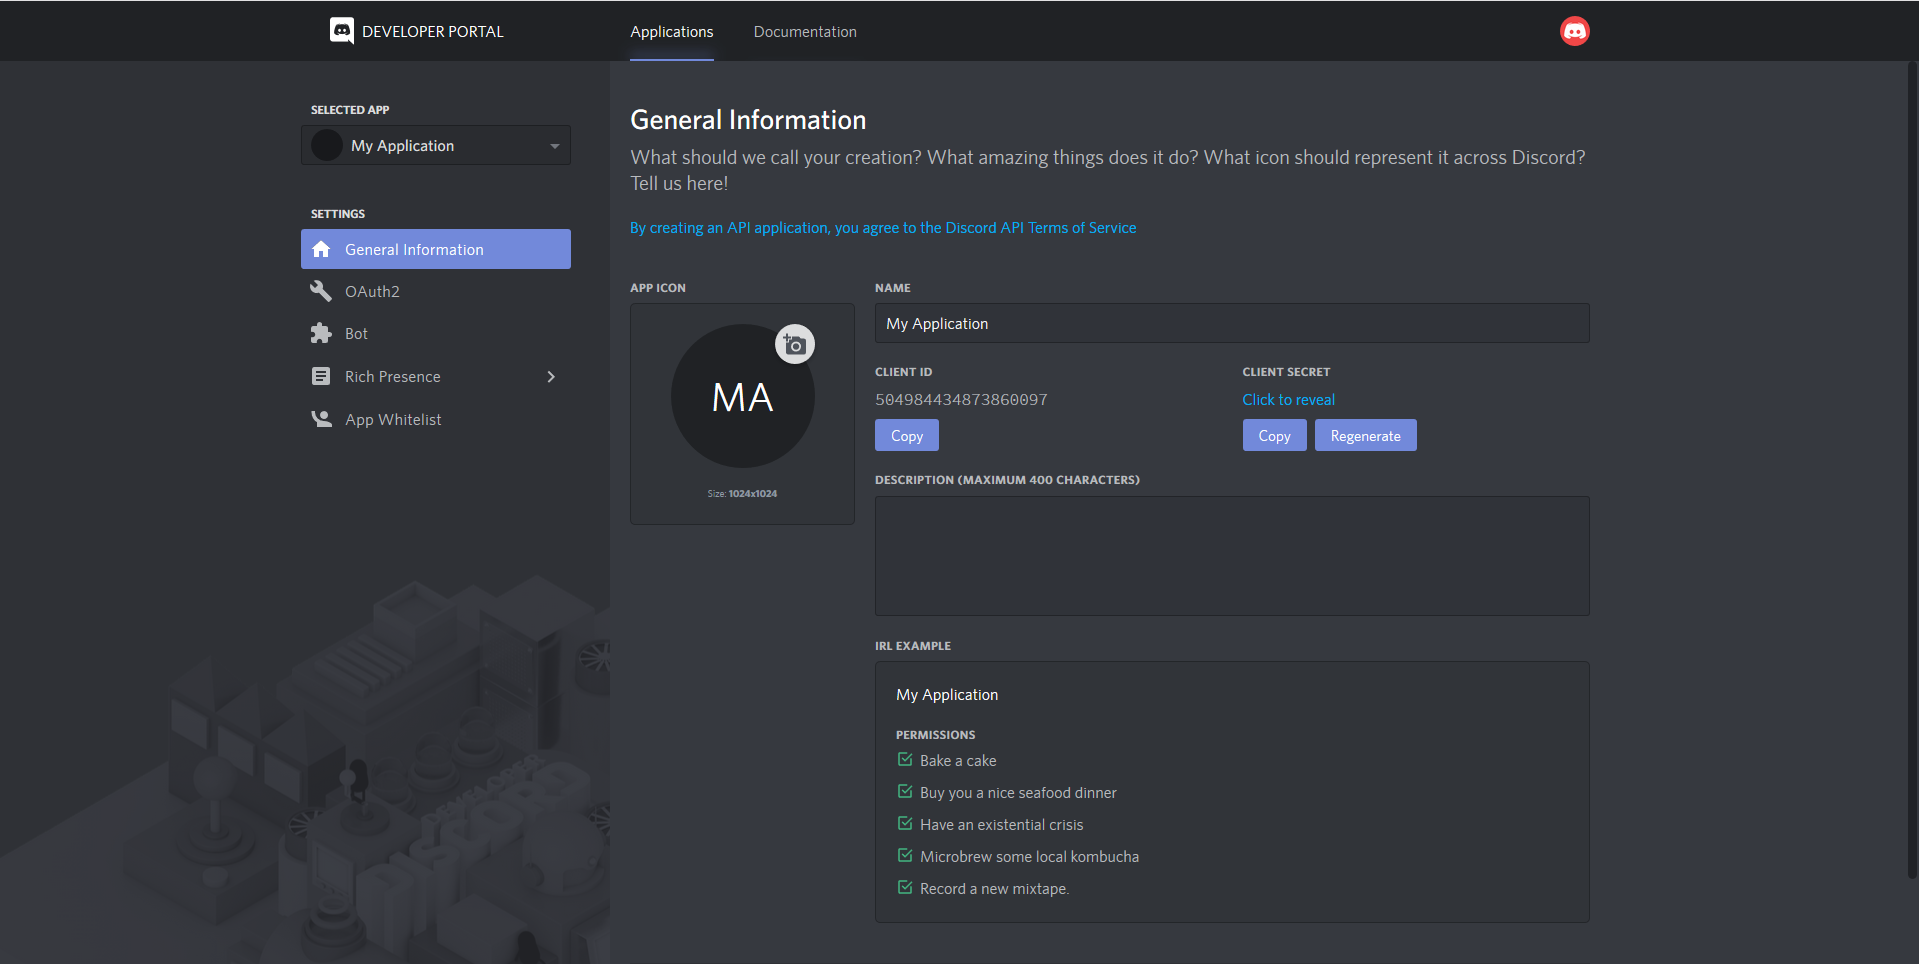
If you clicked the Create an application button, you should get a screen like this.
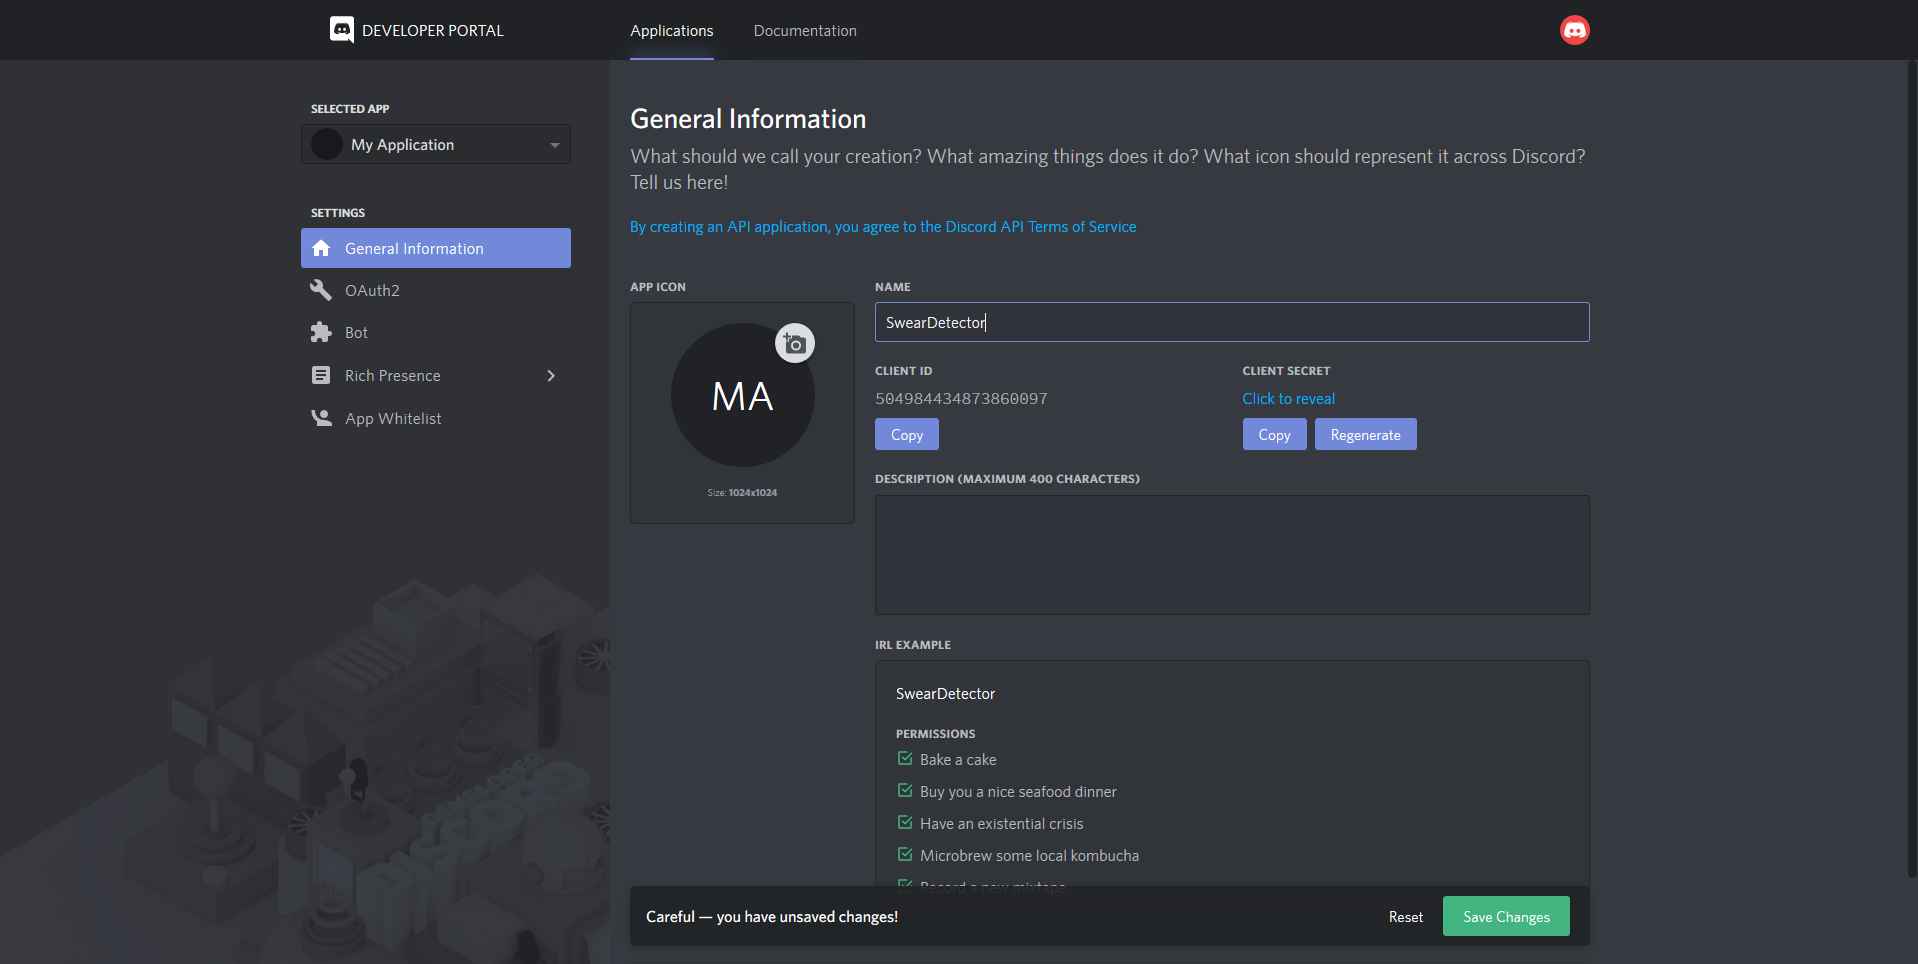
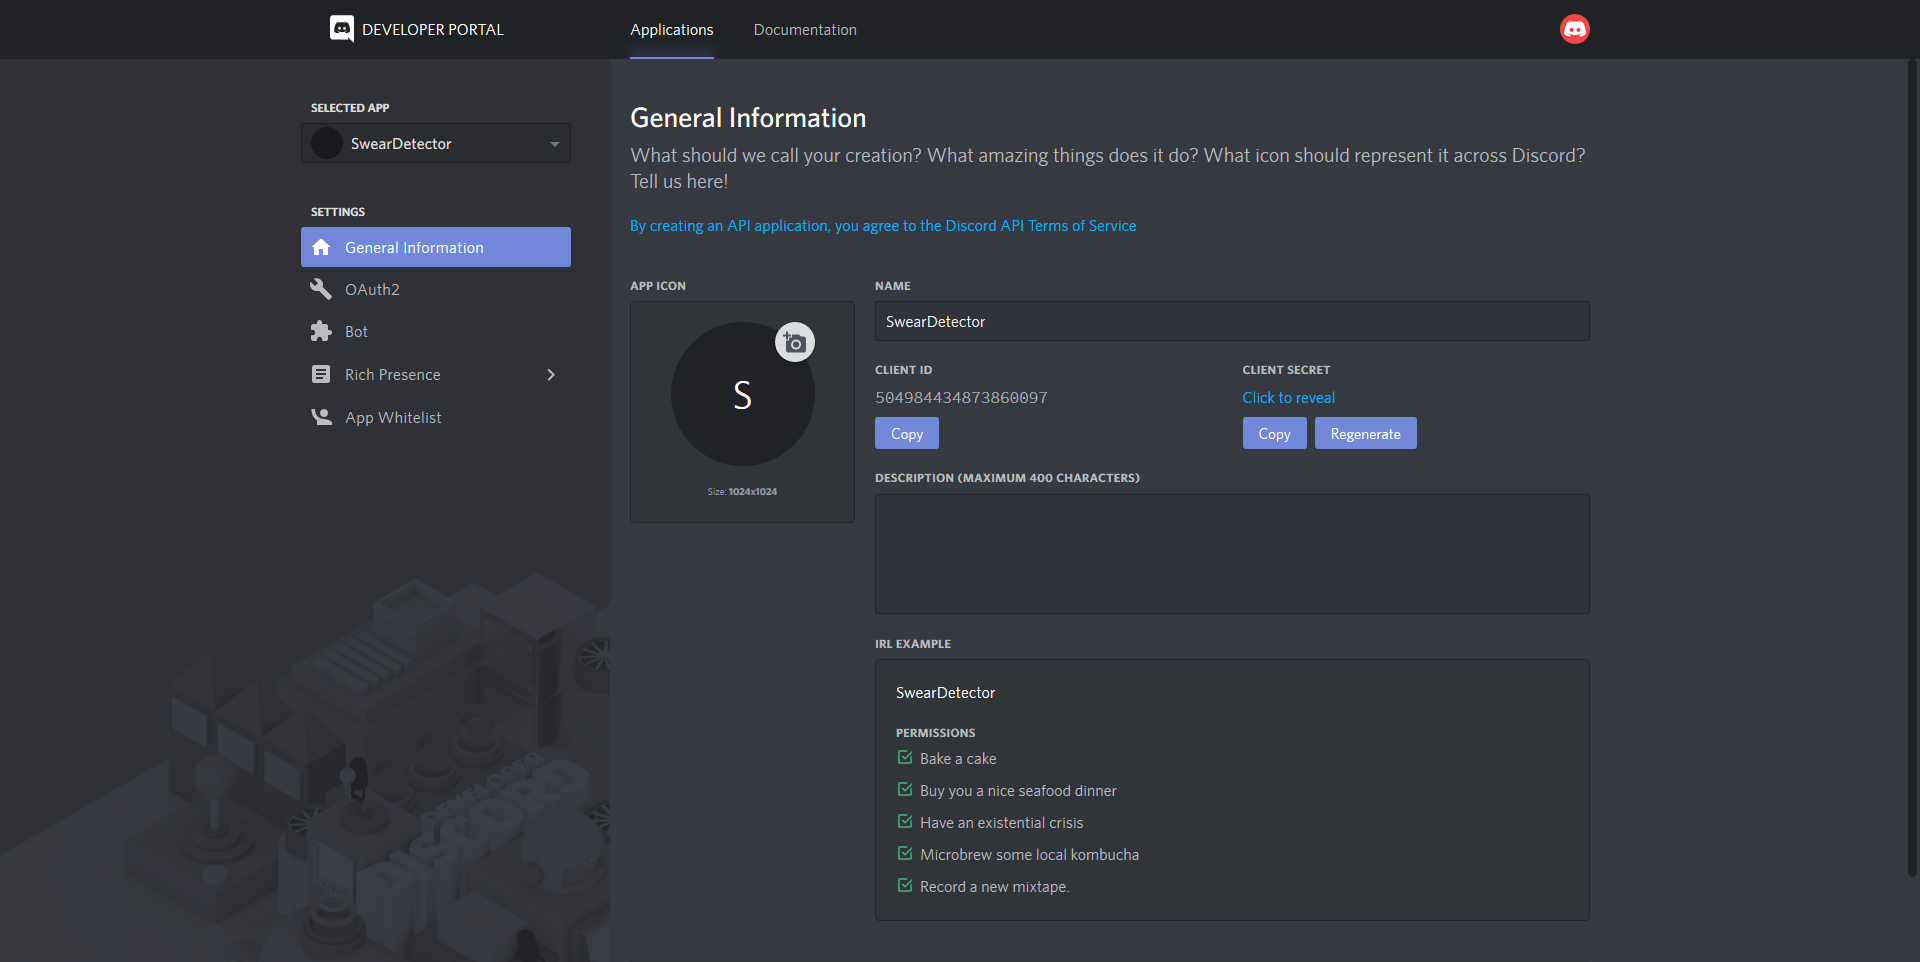
Right now, we'll change the name of the bot. To do this, we go to the name field and change the name from "My Application" to a name that you want to use. For this example, we'll call it "SwearDetector". This is the name that the bot will have when we're on our Discord server. Discord should give you an message "Careful - you have unsaved changes!". Hit the green Save Changes button and your name has changed!
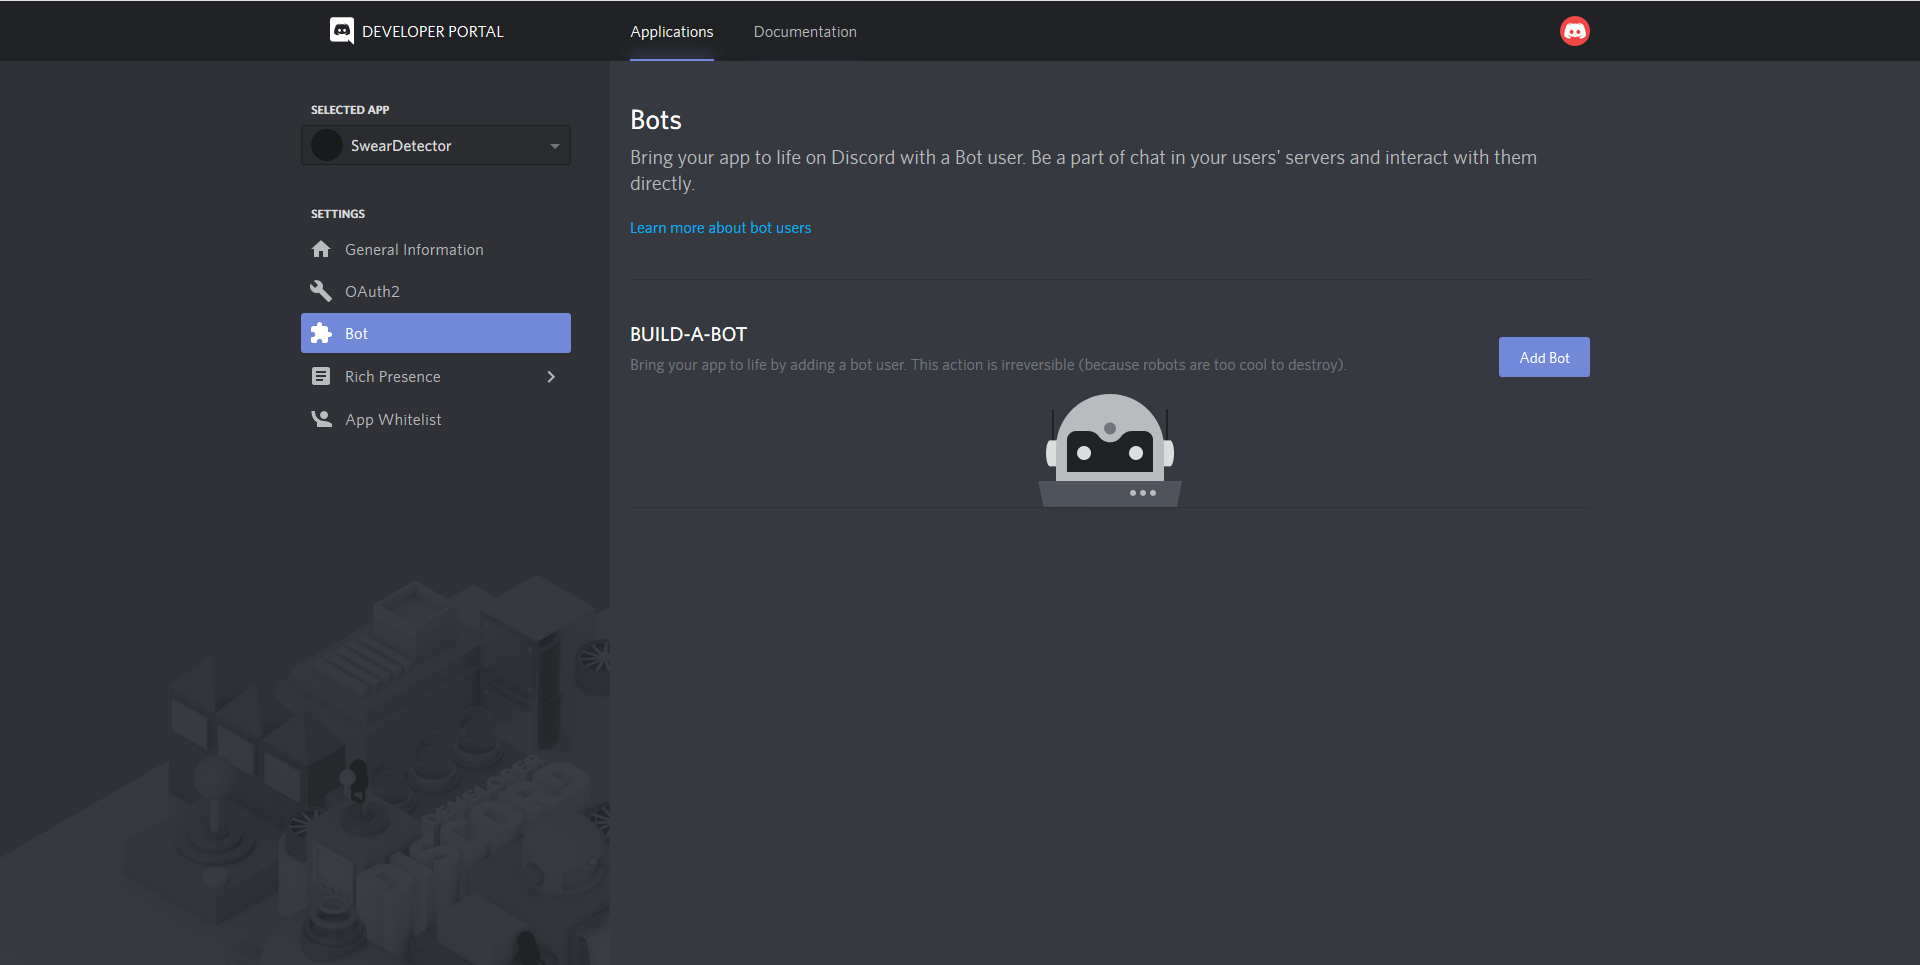
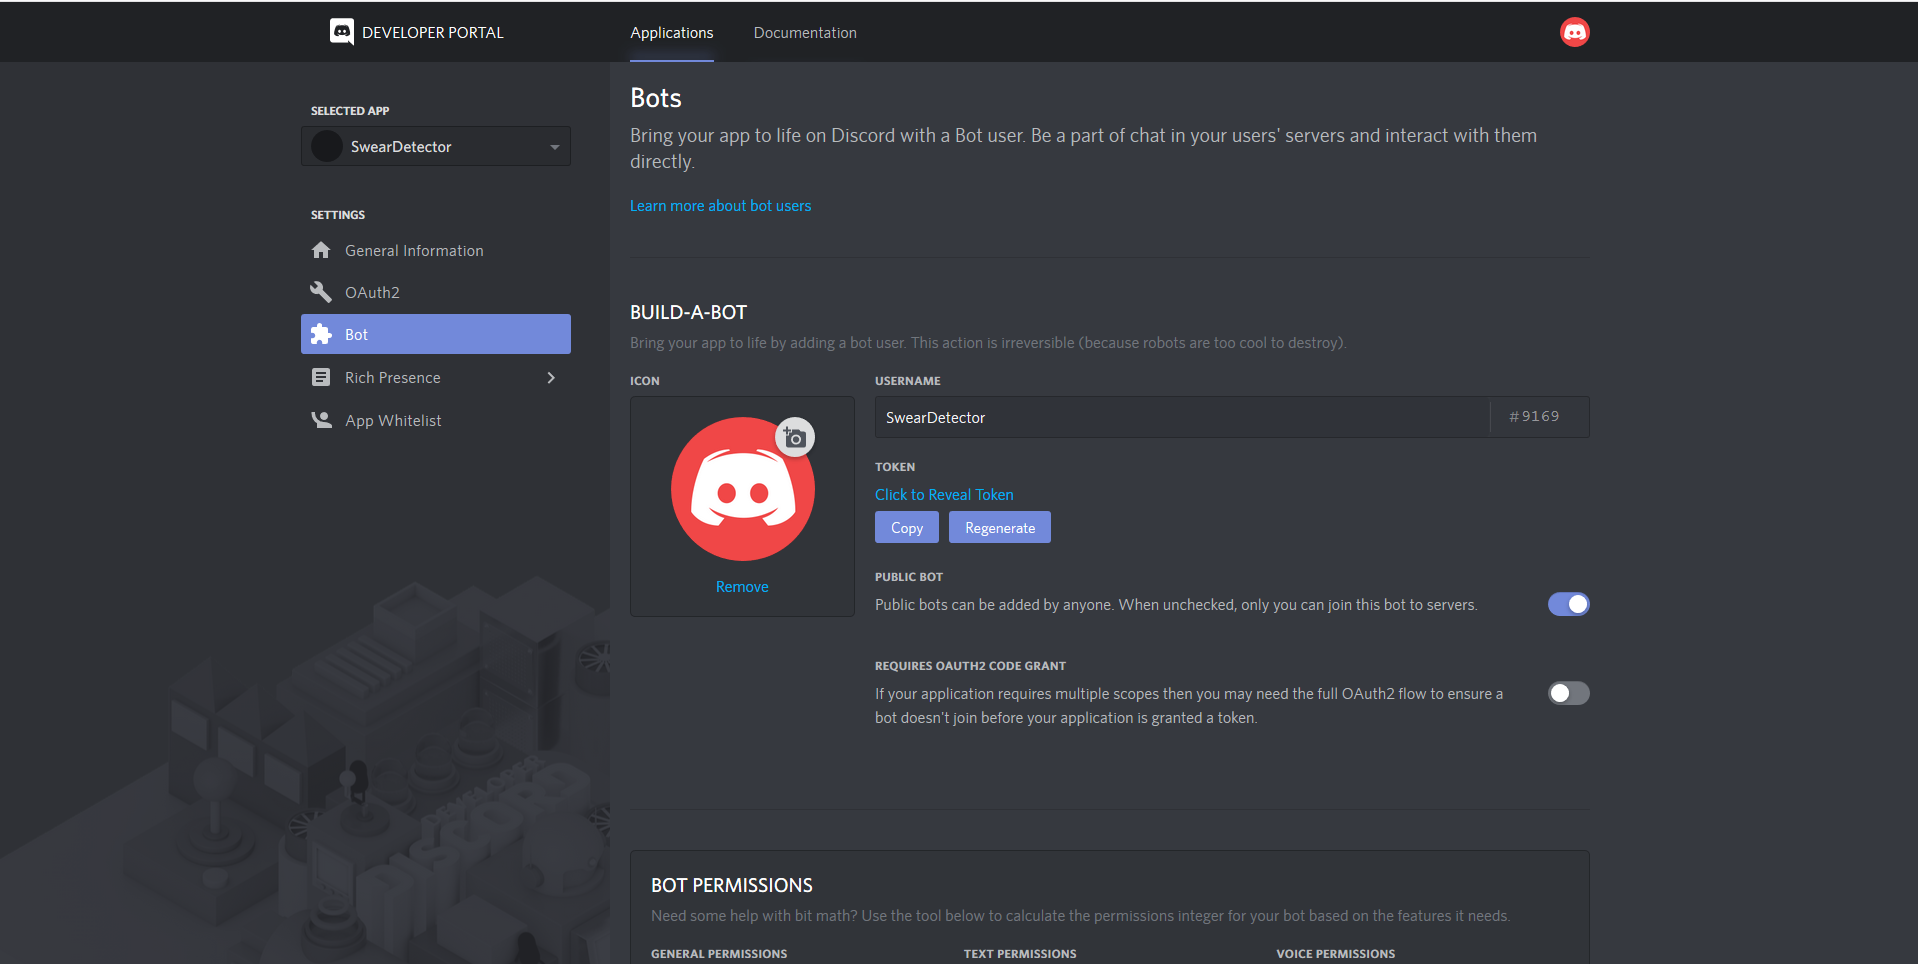
Well, we've added the application to Discord and changed its name, but it isn't a bot yet. In order to do this, we'll add is as a bot by navigating from the General Information button, to the Bot screen on the left side of your screen. When you switch to the Bot screen, something like this should appear.
On the right side of your screen, there is an Add Bot button. If you click this button, this screen should appear. Just click Yes, do it!.
After doing that, this screen should appear. Right here, there is a part with a Token. This is the token we where looking for! You can copy this token and paste it in your config.
But we're not there yet. We haven't added the bot to your Discord server. To do this we'll have to switch back from the Bot menu to the General Information screen. Here you'll find the "CLIENT ID". We need to use this in order to add it to your server.
To add the bot to your Discord server, you'll have to replace the CLIENT_ID with this value in the following URL: https://discordapp.com/oauth2/authorize?&client_id=CLIENT_ID&scope=bot&permissions=8. After that you can enter the URL in your browser and go to that URL.
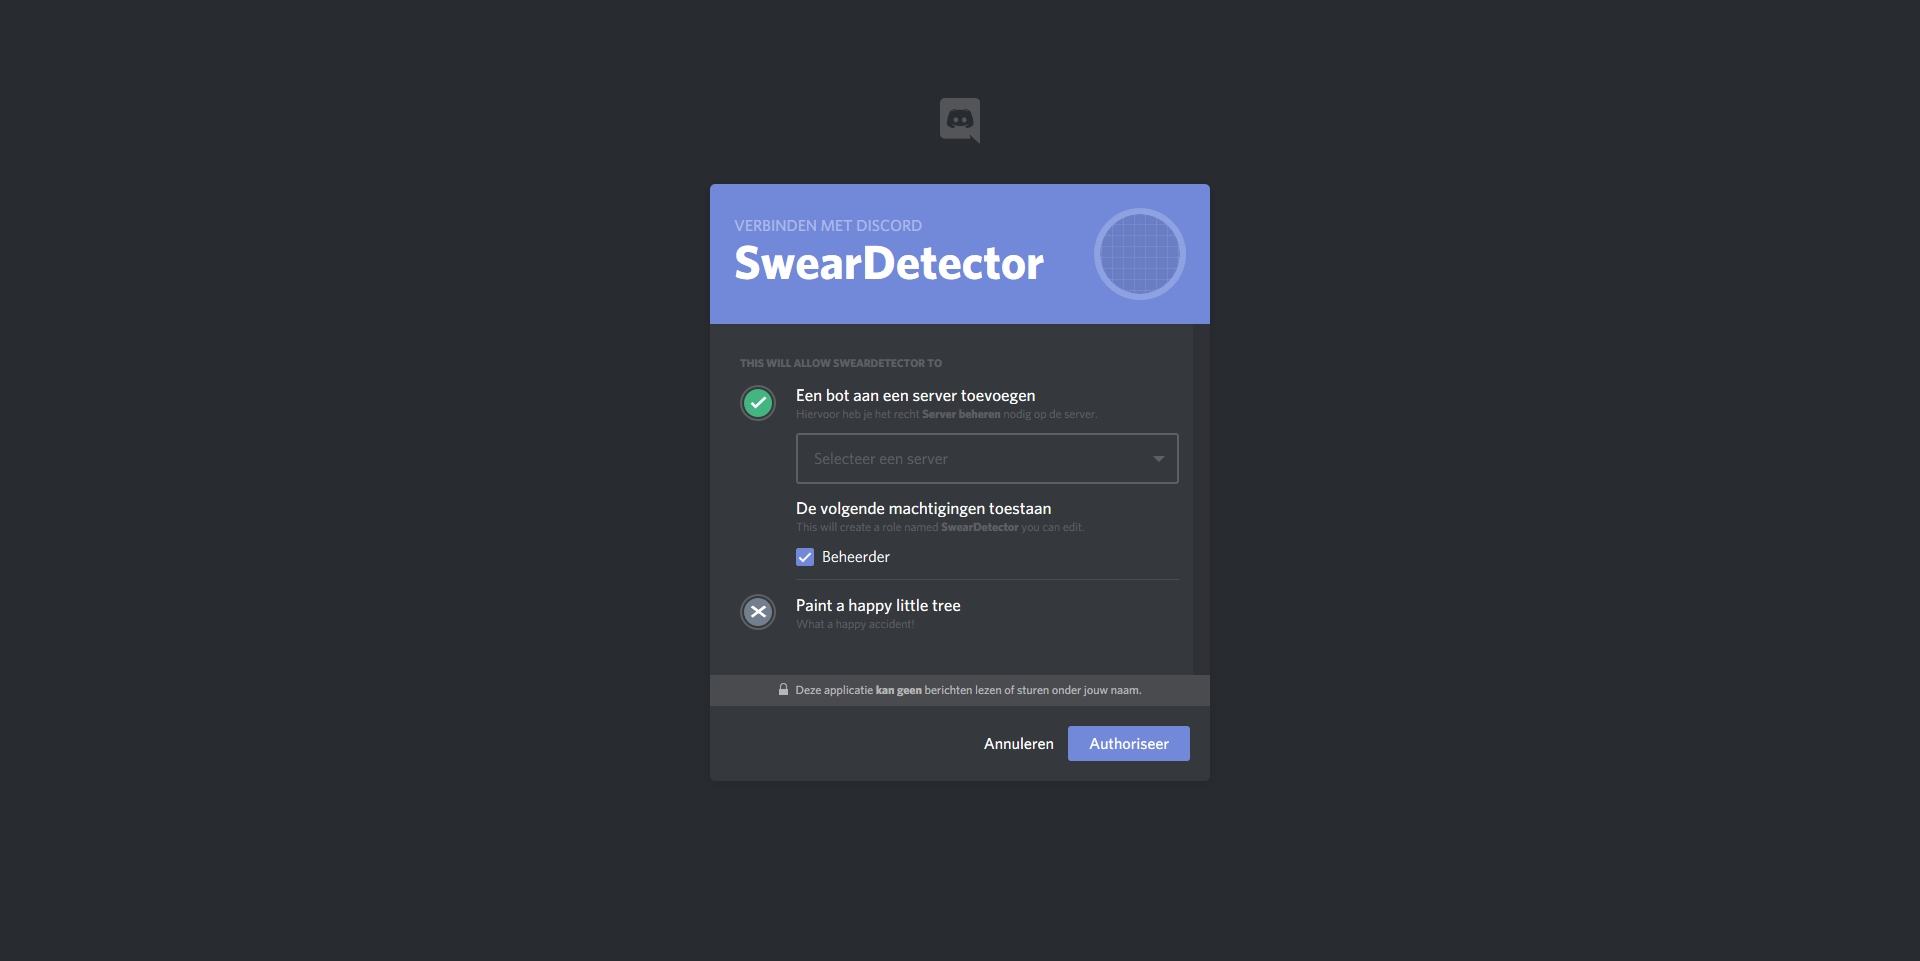
Something like this should appear. Just select your server and click Authorize (in my case Autoriseer because I'm Dutch, I'm sorry) and than you've added the RankSync Bot to your server! Congratulations! But we've just one thing to do in order to make sure everything will work as it's supposed to do.
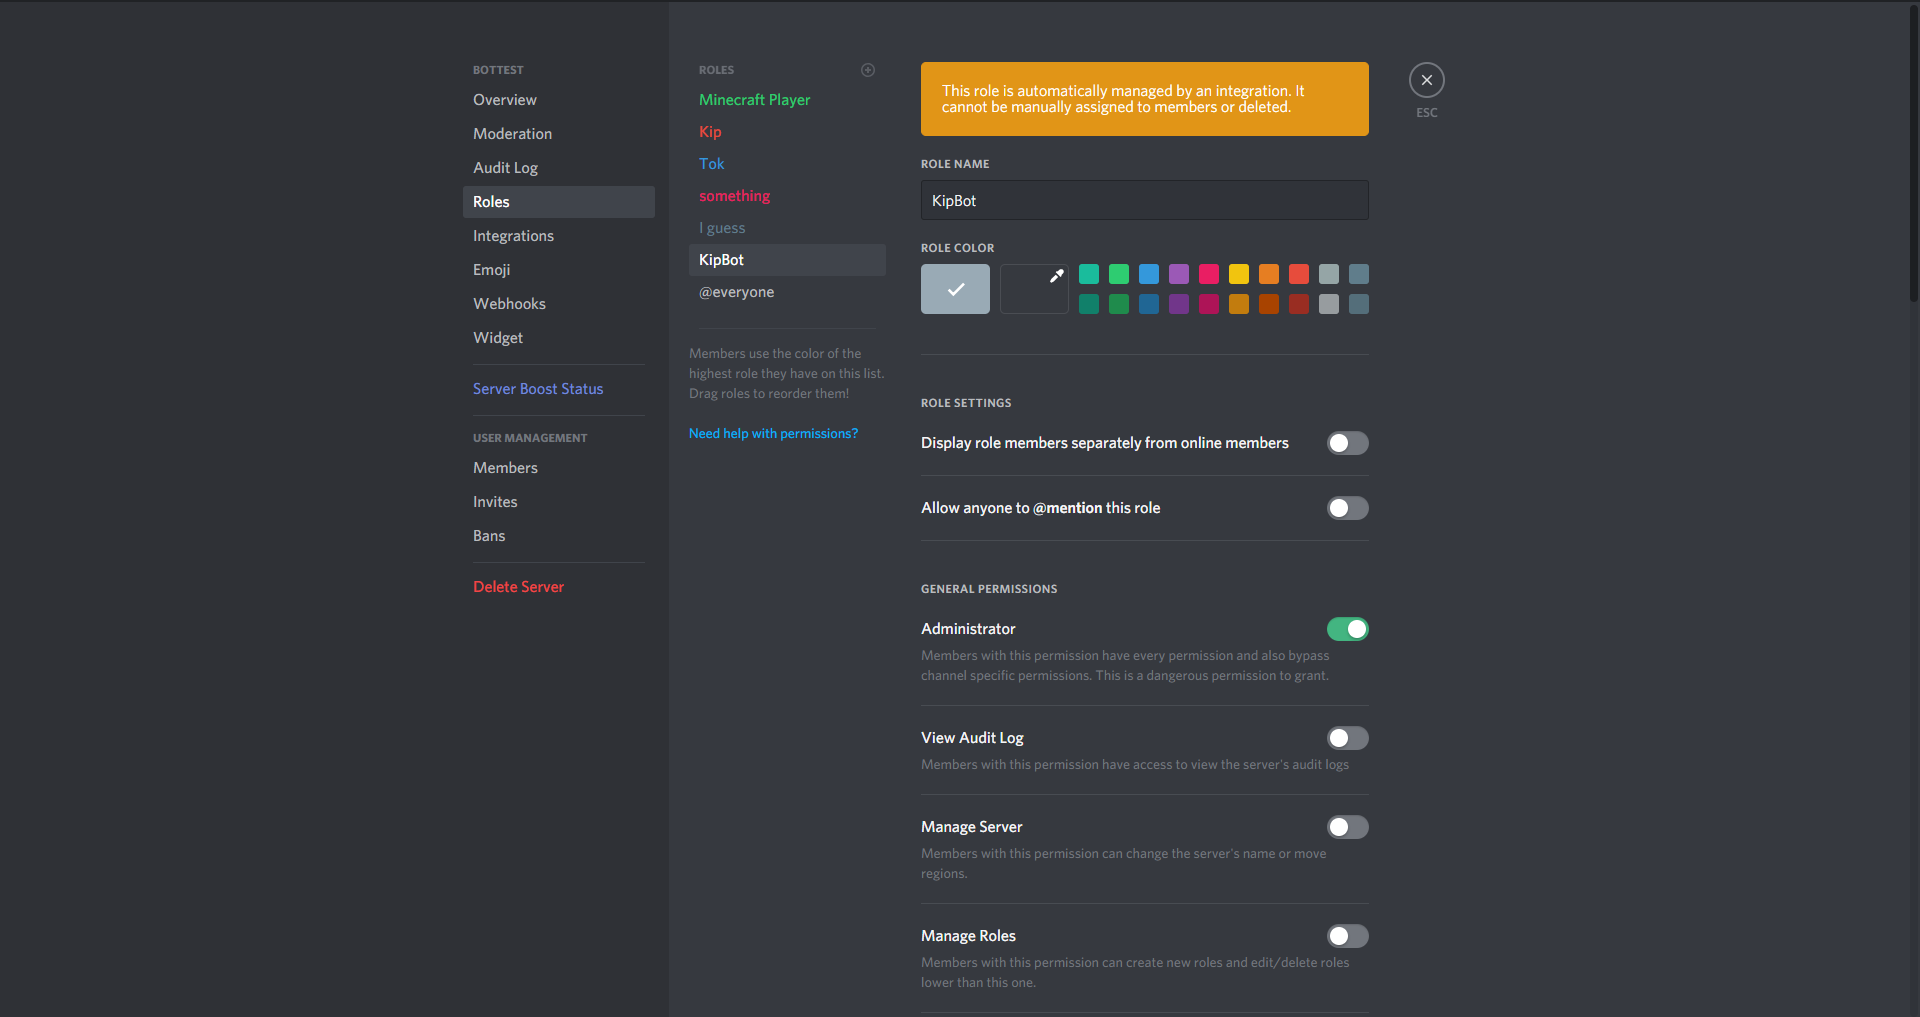
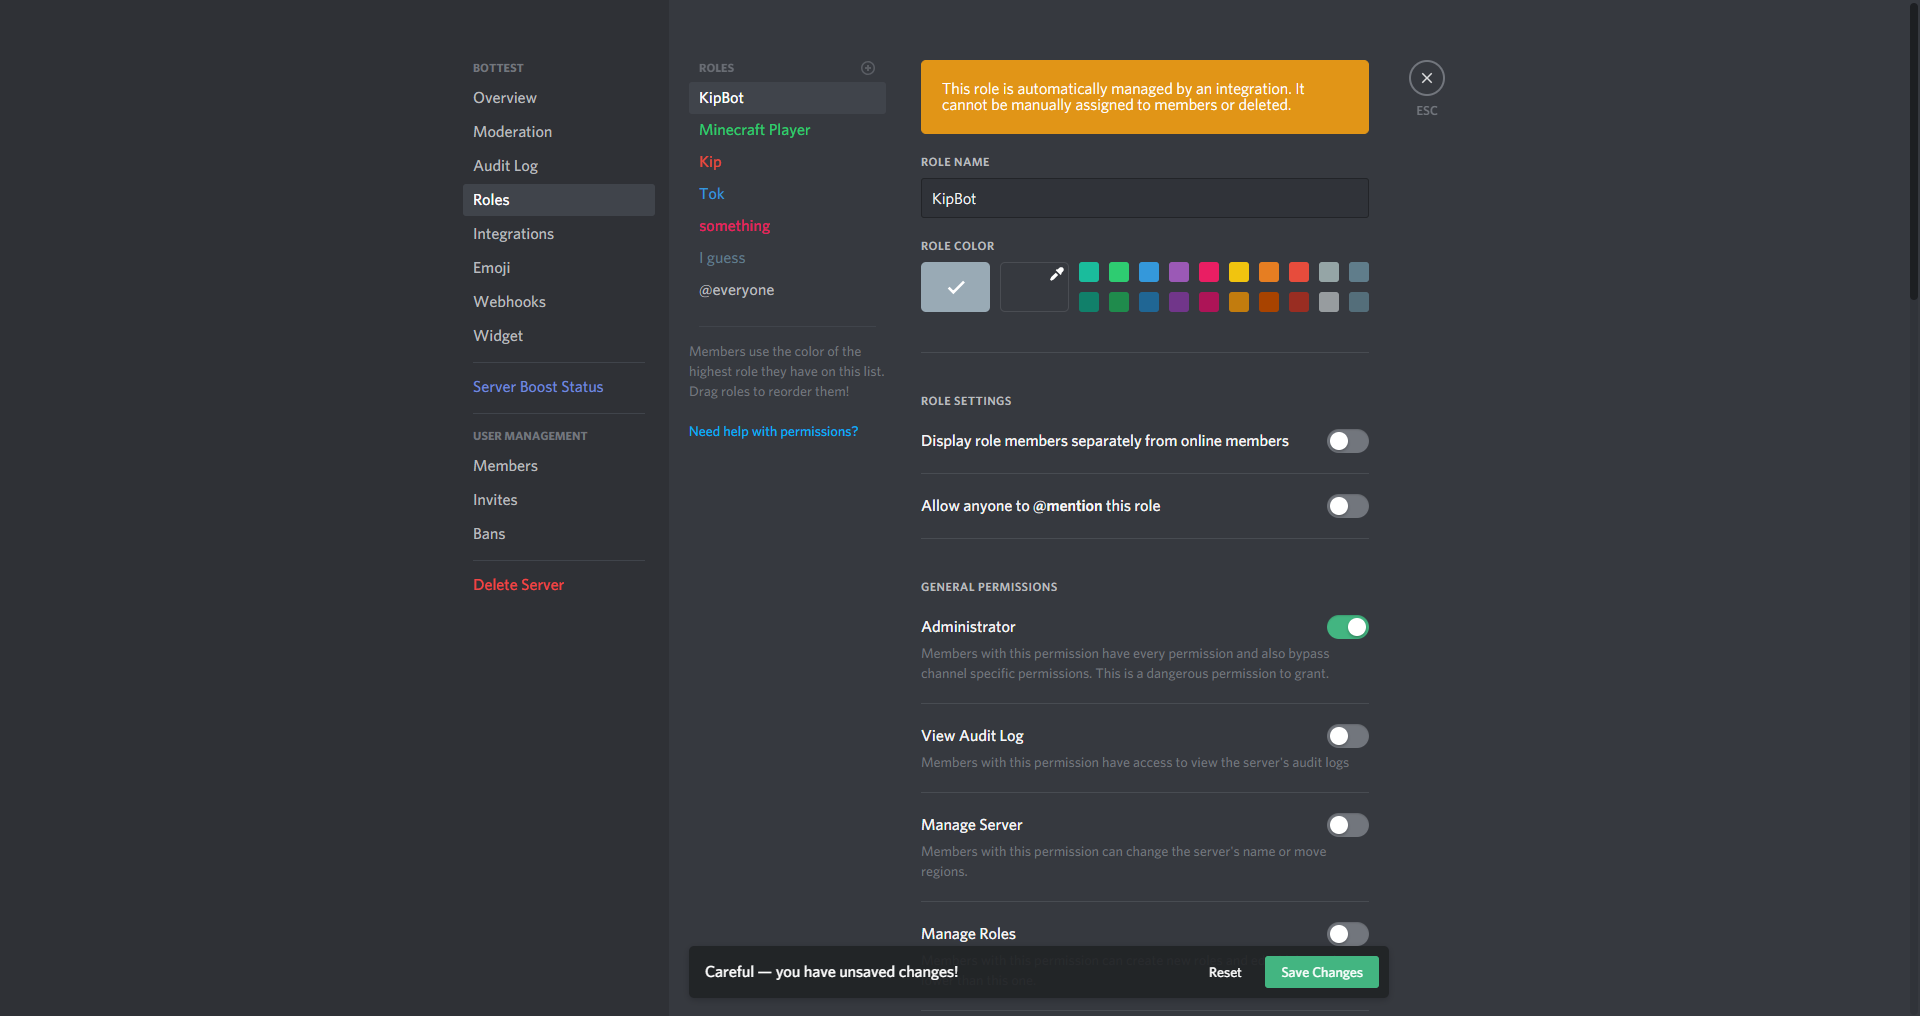
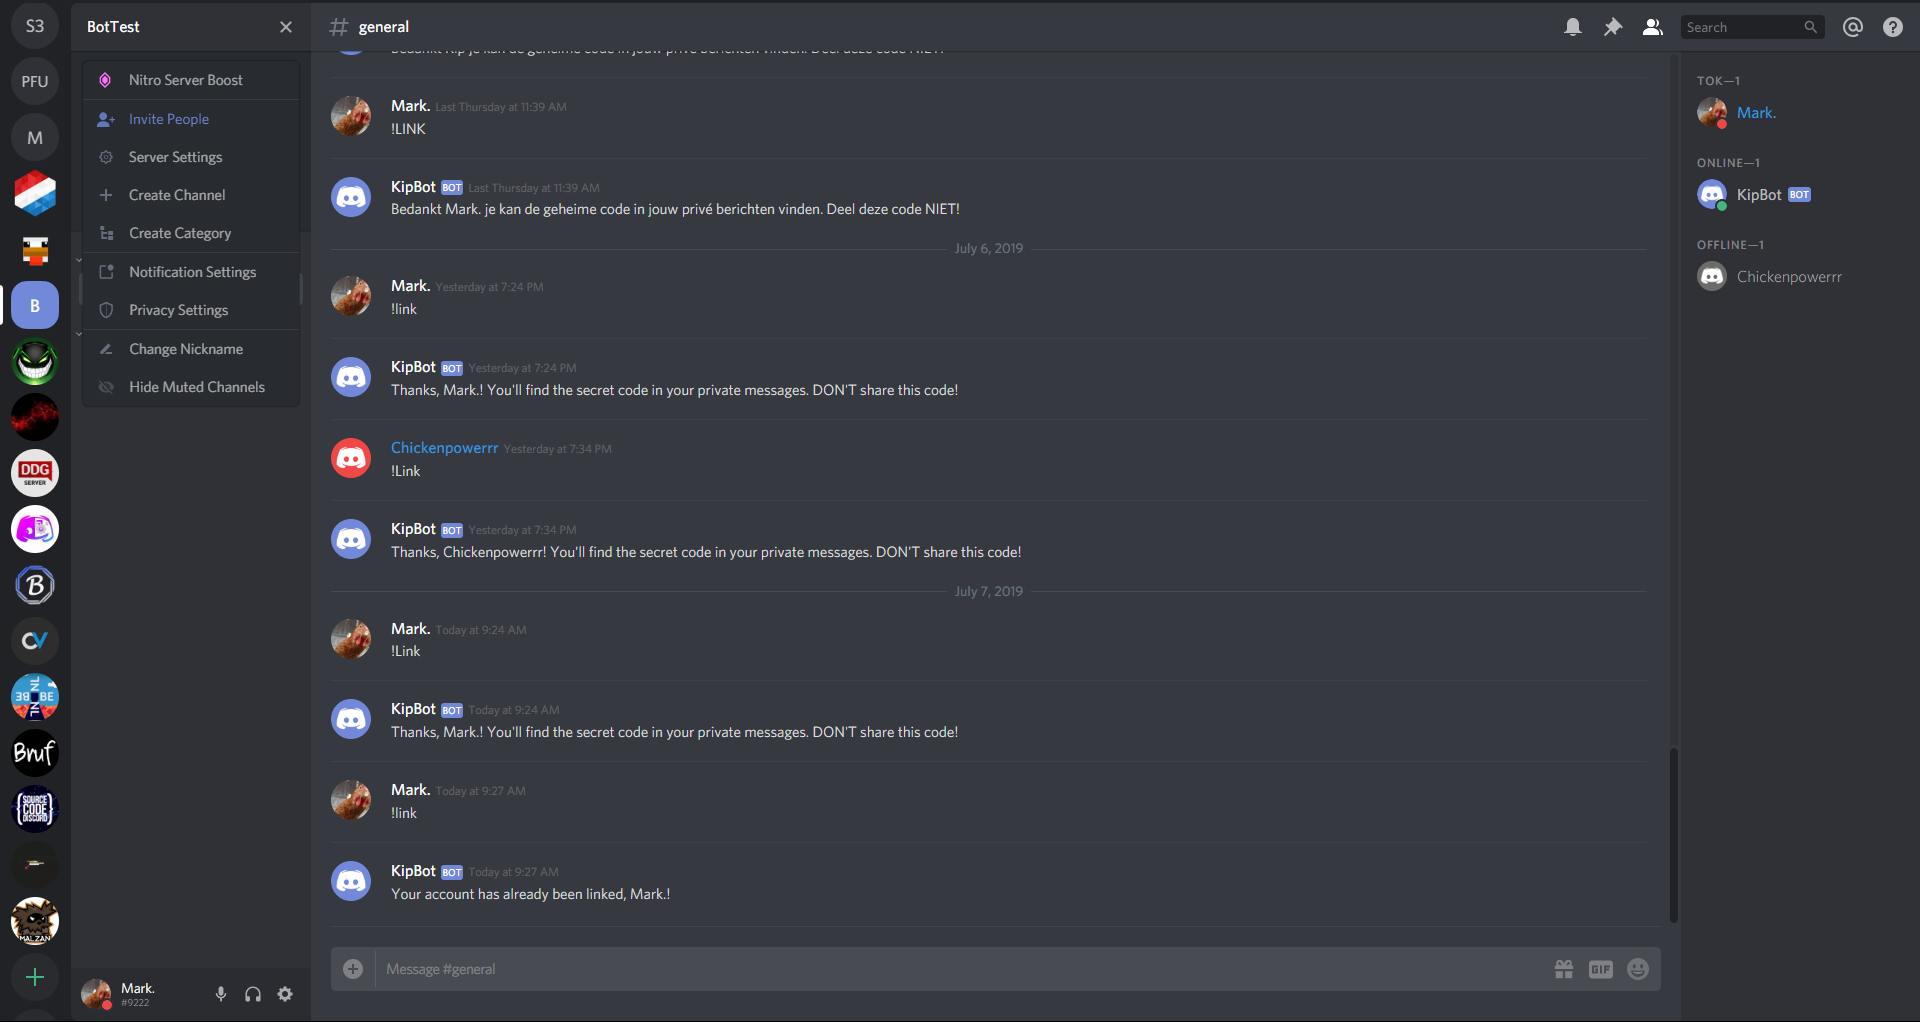
Right now we need to get back to your Discord server and navigate to the "Roles" in your "Server Settings".
Right here you can see that the "KipBot" role is at the bottom. In order to get the bot to issue the ranks, it should be moved to the top of all the roles, you can do this by dragging it at the top.
After that hit the "Save Changes button at the bottom. After that your bot should be installed properly!
