🌐 Website • 💡 Getting Started • 👀 Demos
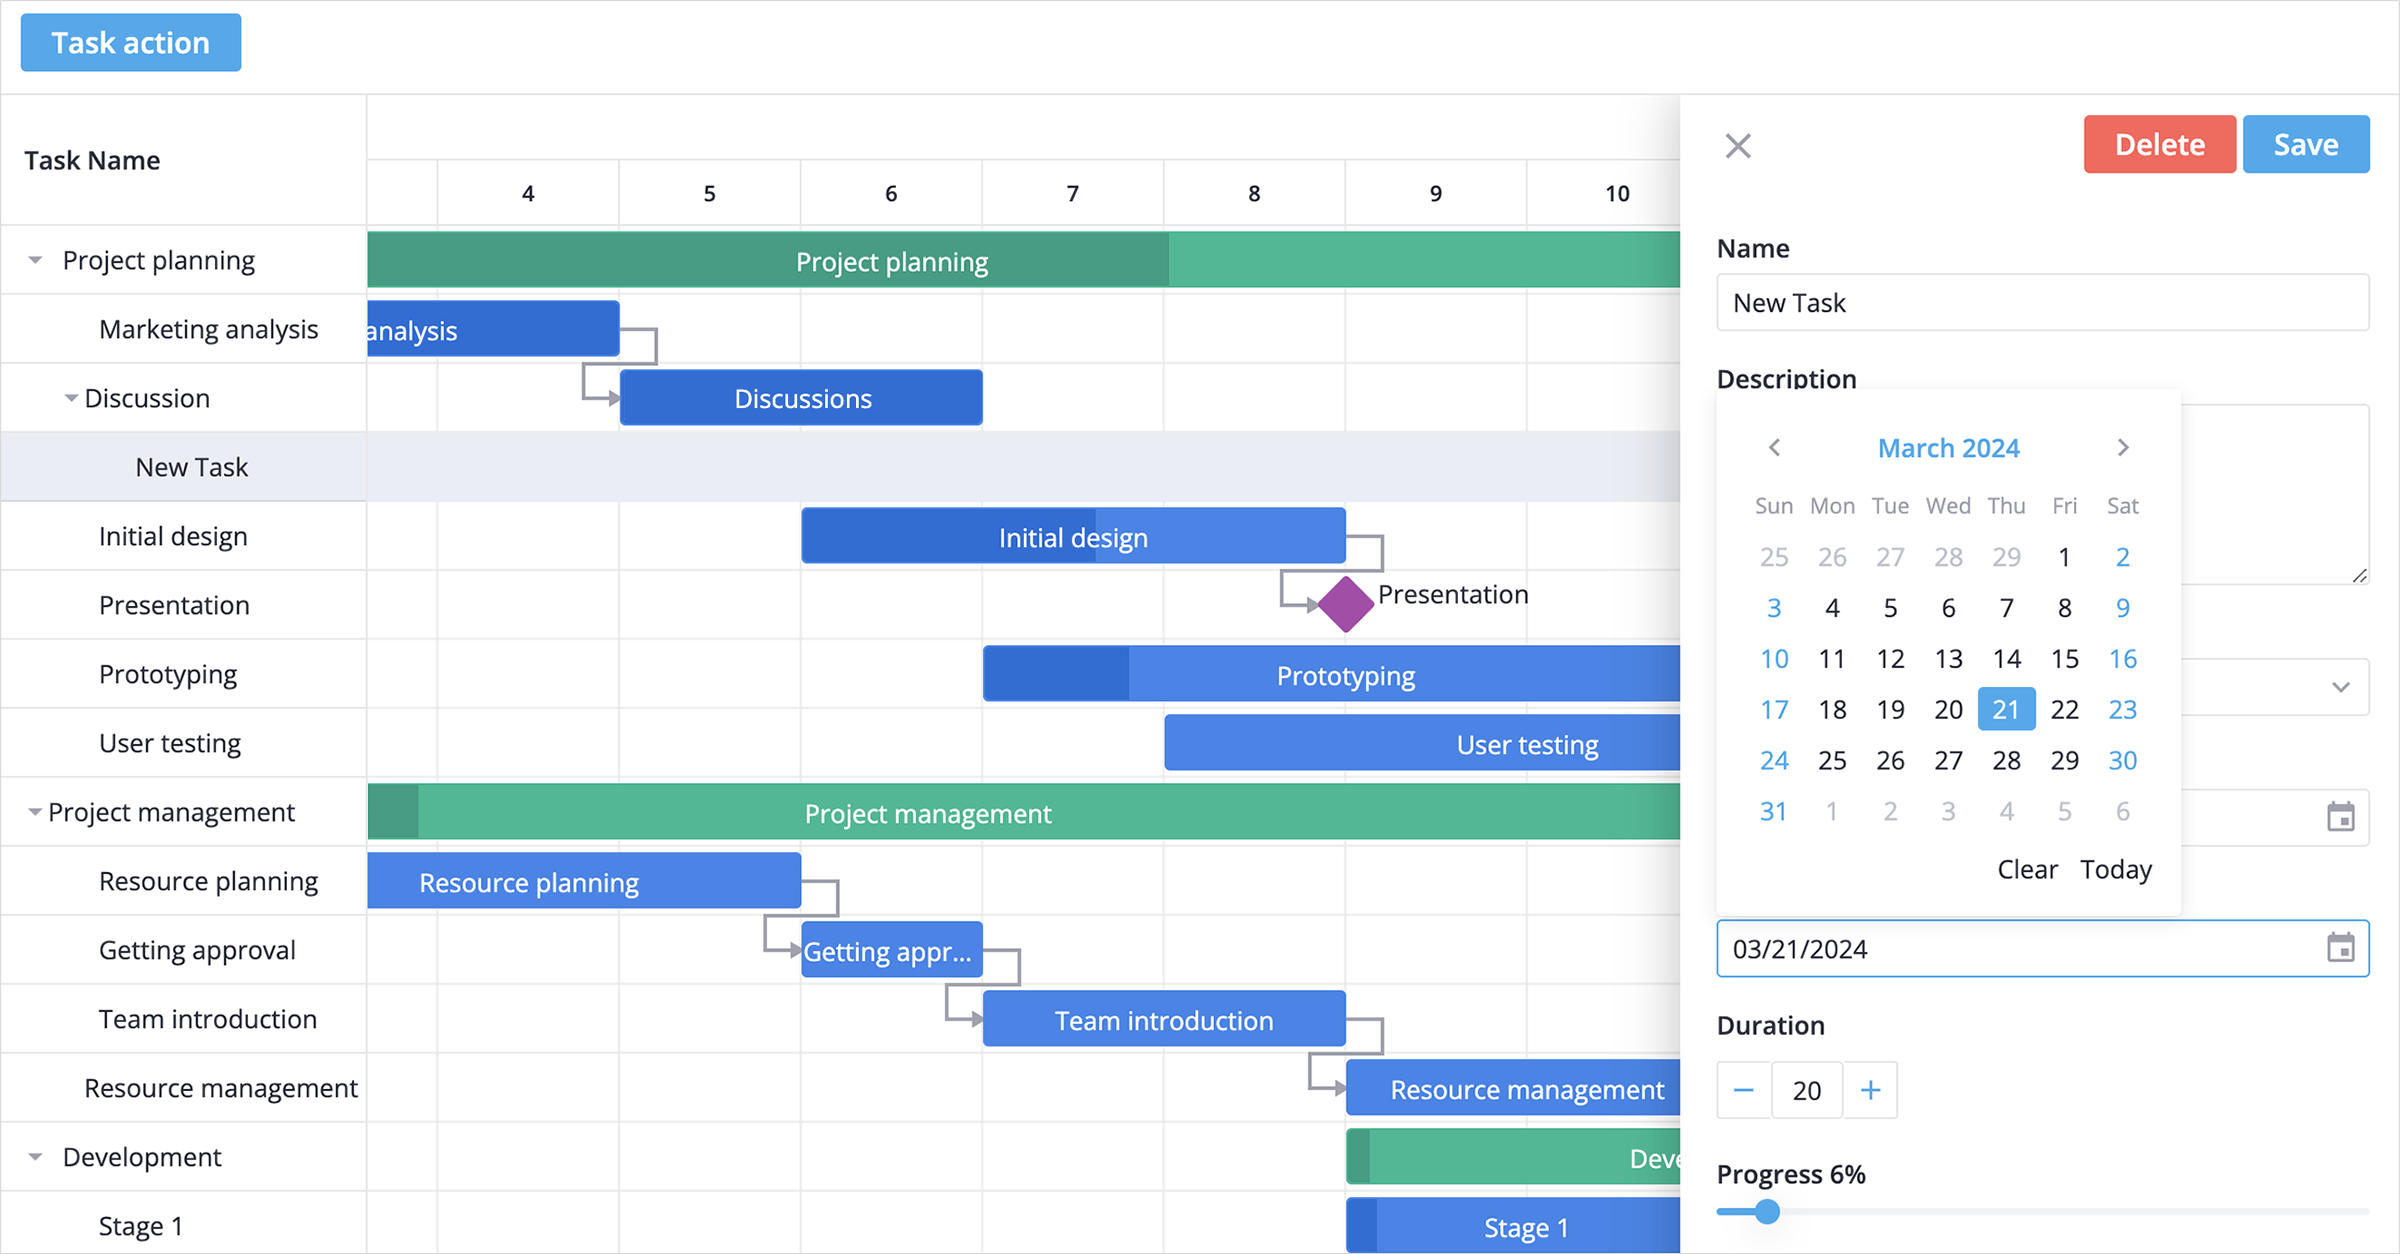
SVAR Svelte Gantt is a customizable, easy-to-use, and interactive Gantt chart component written in Svelte. Its intuitive interface allows users to add and manage tasks and dependencies directly on the timeline using drag-and-drop or via a simple task edit form.
There are two versions of the library: the 1.x version, designed to work with Svelte 4, and the 2.x version, created for Svelte 5. Please note that the 2.x version is in beta and may contain some instabilities.
To use the SVAR Gantt beta for Svelte 5, install it as follows:
npm install wx-svelte-gantt
To use the SVAR Gantt for Svelte 4:
npm install [email protected]
- Interactive drag-and-drop interface
- Intuitive and customizable task edit form
- Set task dependencies on the timeline or in a popup form
- Hierarchical view of sub tasks
- Reordering tasks in grid with drag-and-drop
- Configurable timeline (hours, days, weeks)
- Zooming with scroll
- Showing task progress on the taskbar
- Toolbar and context menu
- Tooltips for taskbars
- Fast performance with big data sets
To use the widget, simply import the package and include the component in your Svelte file:
<script>
	import { Gantt } from "wx-svelte-gantt";

	const tasks = [
		{
			id: 1,
			start: new Date(2024, 3, 2),
			end: new Date(2024, 3, 17),
			text: "Project planning",
			progress: 30,
			parent: 0,
			type: "summary",
			open: true,
			details: "Outline the project's scope and resources.",
		},
	];
	const links = [];
	const scales = [
		{ unit: "month", step: 1, format: "MMMM yyy" },
		{ unit: "day", step: 1, format: "d", css: dayStyle },
	];
</script>

<Gantt {tasks} {links} {scales} />
For further instructions, follow the deatailed how-to-start guide.
Typically, you don't need to modify the code. However, if you wish to do so, follow these steps:
- Run
yarnto install dependencies. Note that this project is a monorepo usingyarnworkspaces, so npm will not work - Start the project in development mode with
yarn start
To run the test:
- Start the test examples with:
yarn start:tests
- In a separate console, run the end-to-end tests with:
yarn test:cypress
Post an Issue or use our community forum.


