SITE Preset Instructions
These instructions describe how to use Inferno with the FHIR Sandbox provided by SITE.
- Step 1: Discovery & Registration
- Step 2: Standalone Patient App
- Step 3: EHR Practitioner App
- Step 4: Data Access
To get started, go to Inferno, scroll to the bottom of the page and select "SITE FHIR Sandbox" from the preset vendor configurations. Click "Begin."


a. Click "Start" on the Discovery and Registration page.

b. In the pop-up, notice that the "Client ID" and "Client Secret" fields have already been filled in. Click "Execute."

c. After the tests have completed running, you may click on the "Show Details" button for any of the tests to see more information about them. When you are ready to continue, click on "Standalone Patient App" at the top of the page.

a. Click "Start" on the Standalone Patient App page.

b. In the pop up, all of the fields should already be filled in. Scroll to the bottom of the pop-up and click "Execute."

c. Inferno will ask you for permission to be redirected to an external website. Click "Continue."

d. Inferno will redirect you to the login page for the SITE FHIR Server. Use the demo username and password to login.
Username: demouser Password: Demouser1!

e. Click "Allow" to let Inferno have access to the requested scopes.

f. Click on any patient name to select them for the test.

g. After the tests have completed running, click on "EHR Practitioner App" to continue.

a. Click "Start" on the EHR Practitioner App page.

b. Scroll to the bottom of the pop up and click "Execute."

c. The pop up "Waiting at LAUNCH URI" should appear. In a separate tab, go to the SITE FHIR Server Website.

d. Ensure that the FHIR Server is on version DSTU2, and click on "Login."
e. Login with the same credentials as in Step 2d. Username: demouser Password: Demouser1!
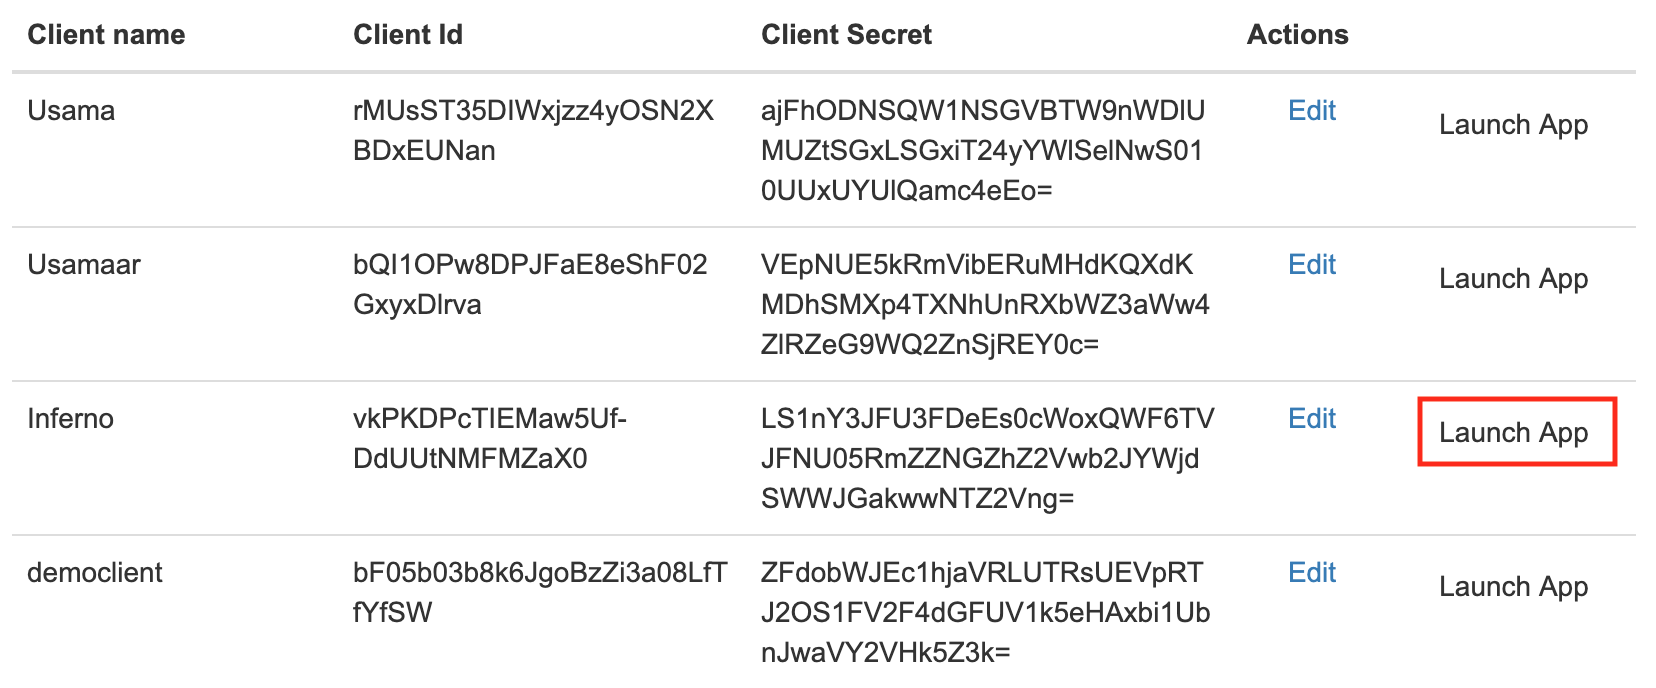
f. Click "Edit an Existing Client."

g. Click "Launch App" under the Inferno client.
h. Launching the app from the SITE website should then redirect back to Inferno. Click "Continue" again on the pop up to allow redirection to an external website.
i. Click "Allow" and click on any patient name, the same as Steps 2e-f.
j. After the tests have completed running, click on "Data Access" to continue.

a. Click "Start."
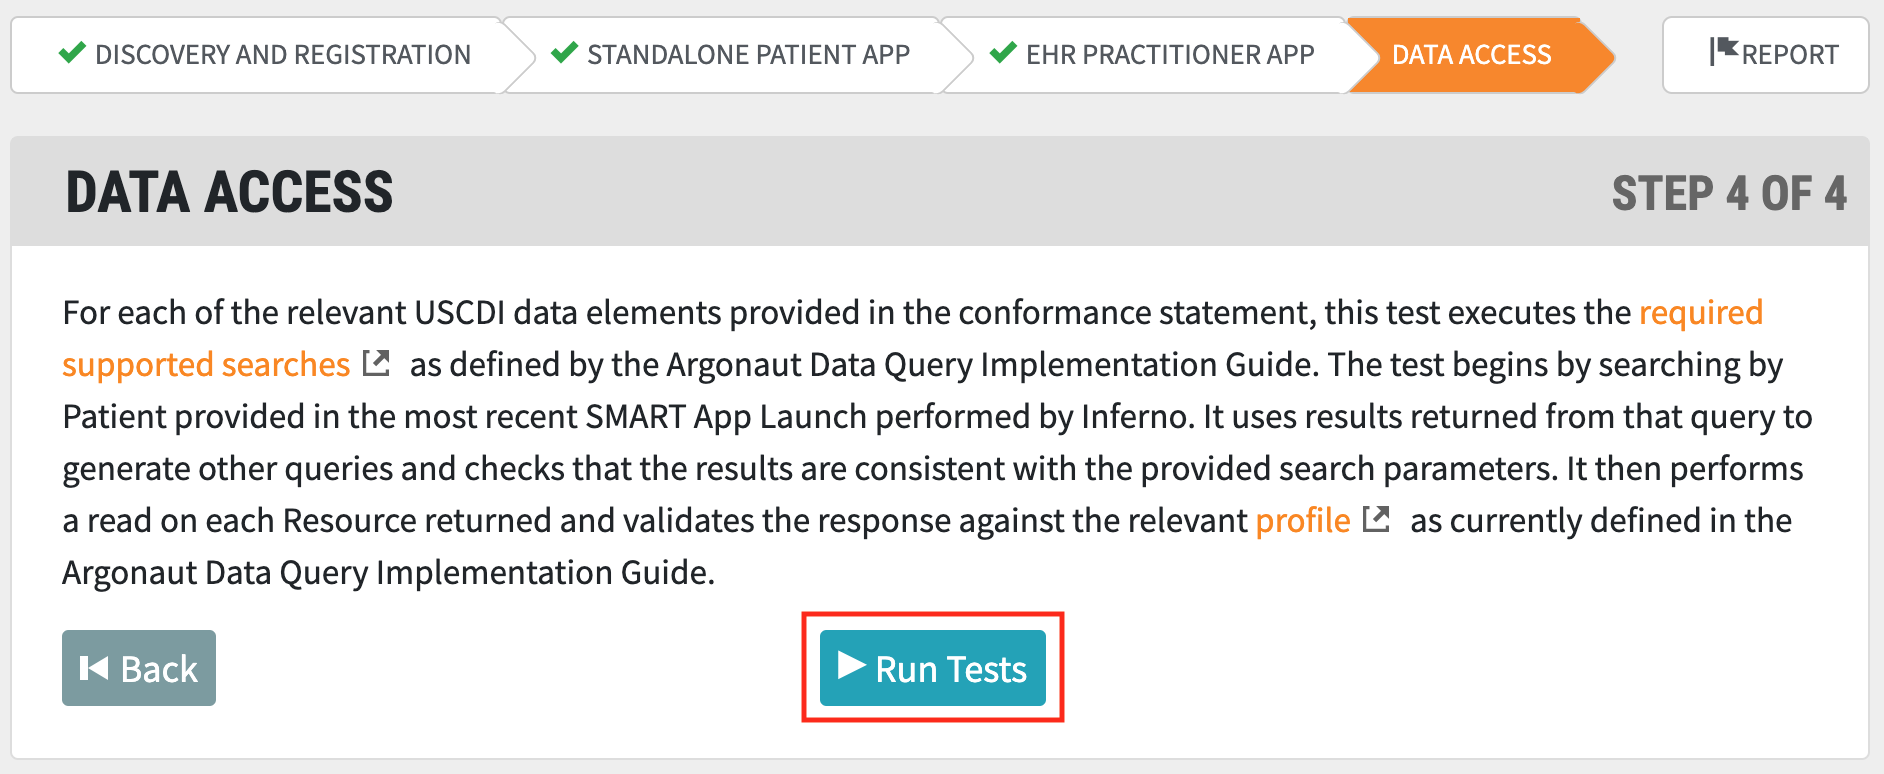
b. Click "Execute."

c. Testing is complete! No worries if some of the tests don't pass.
