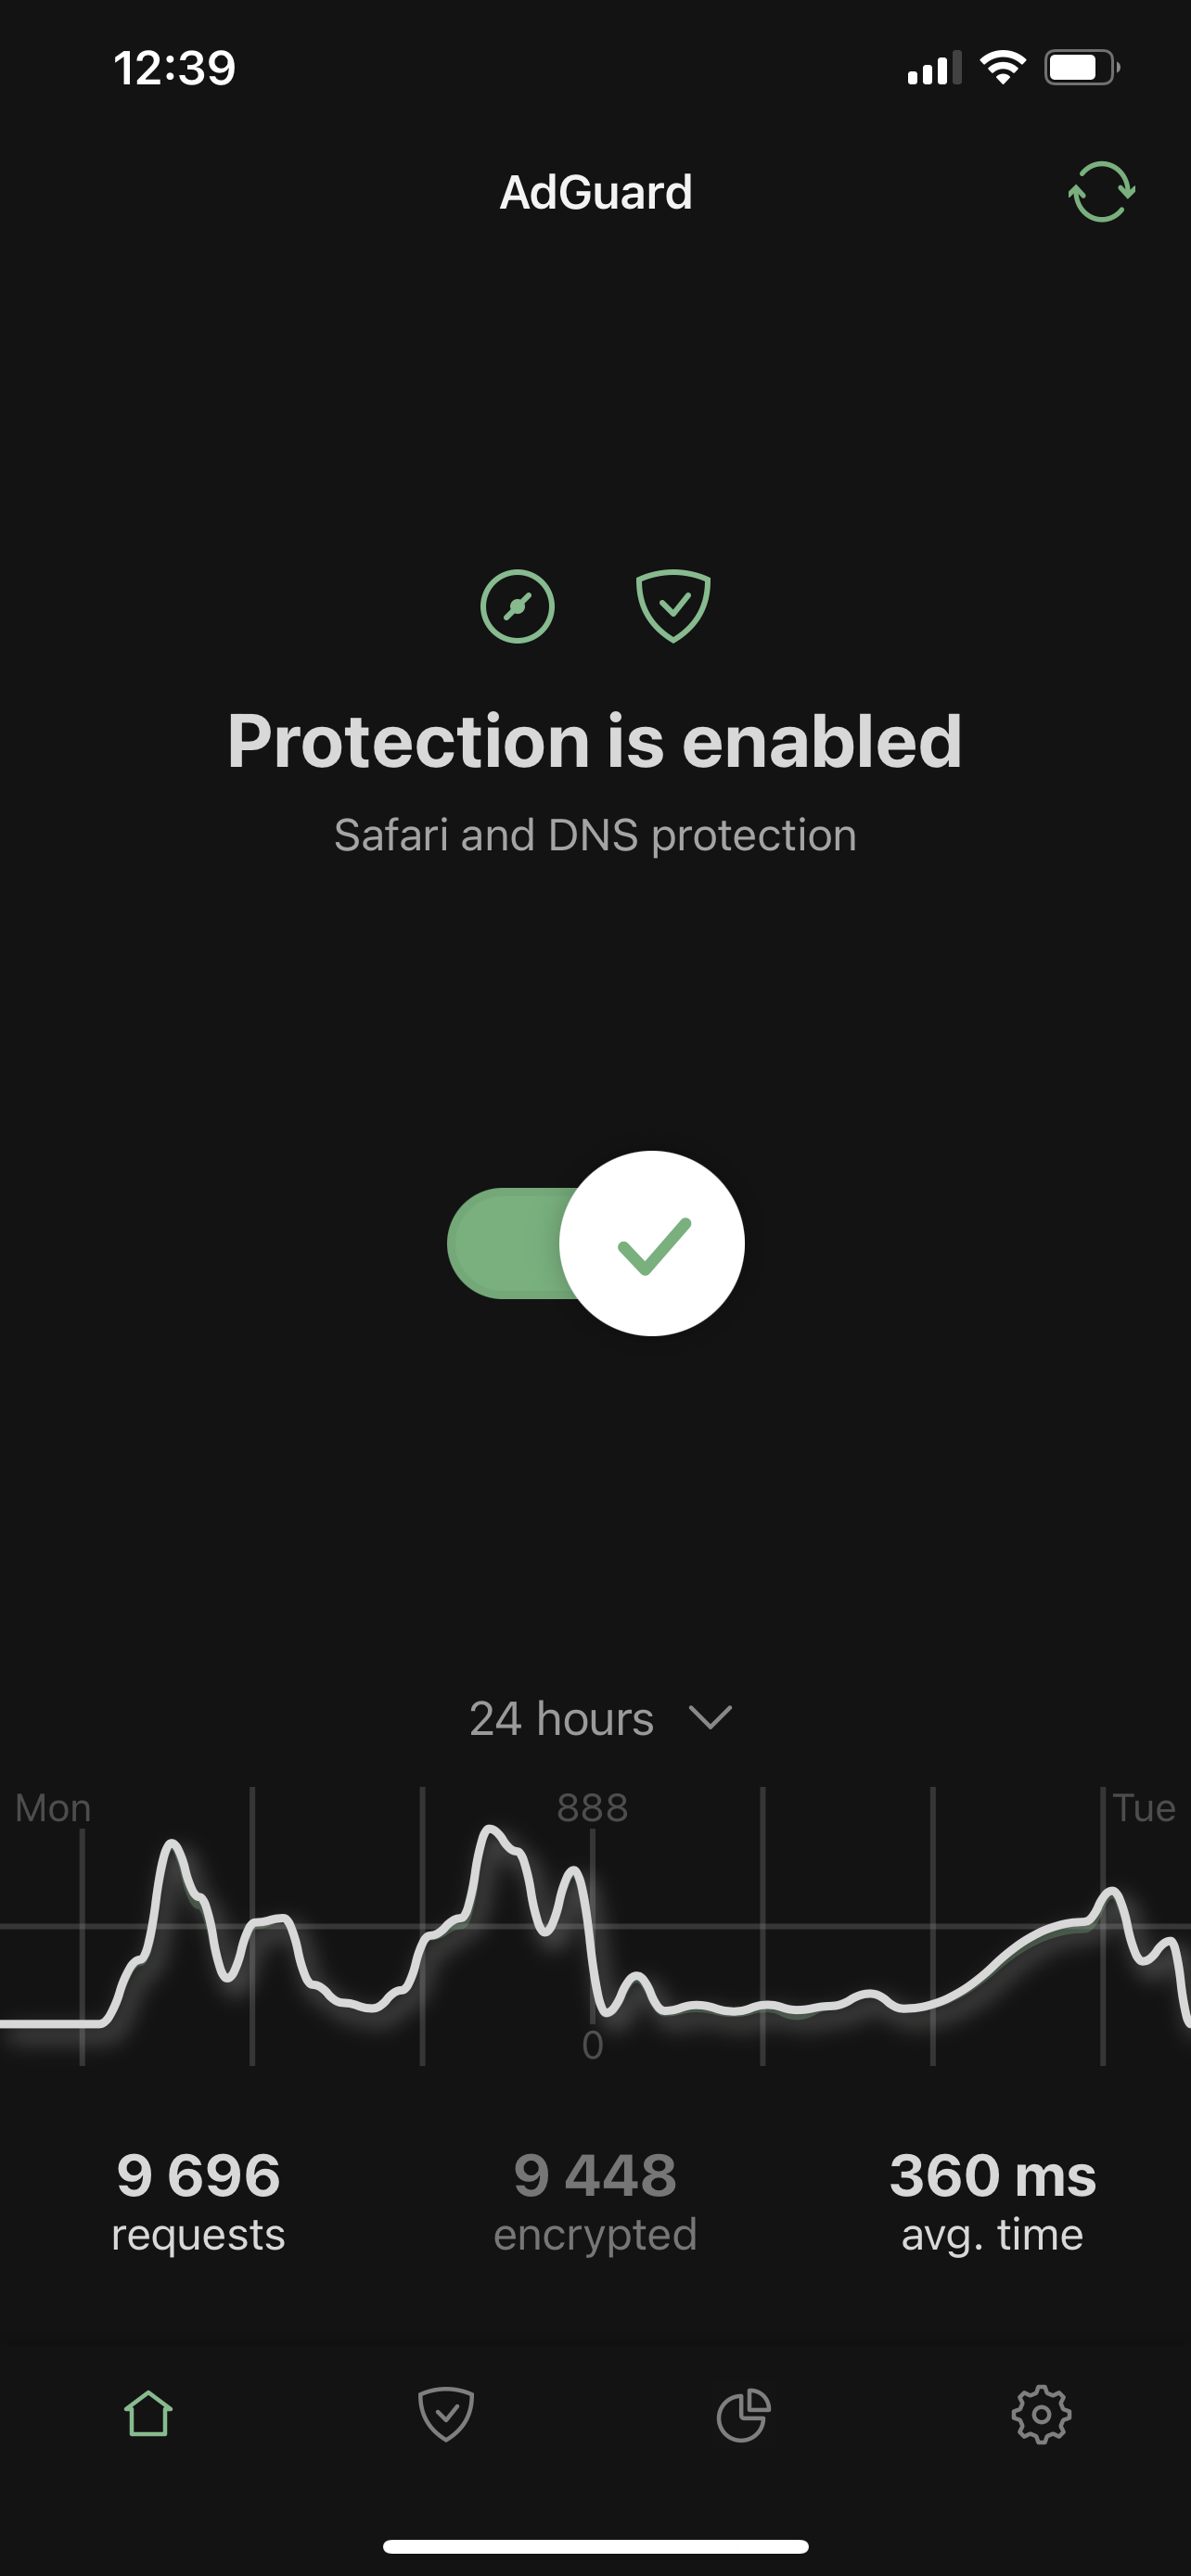
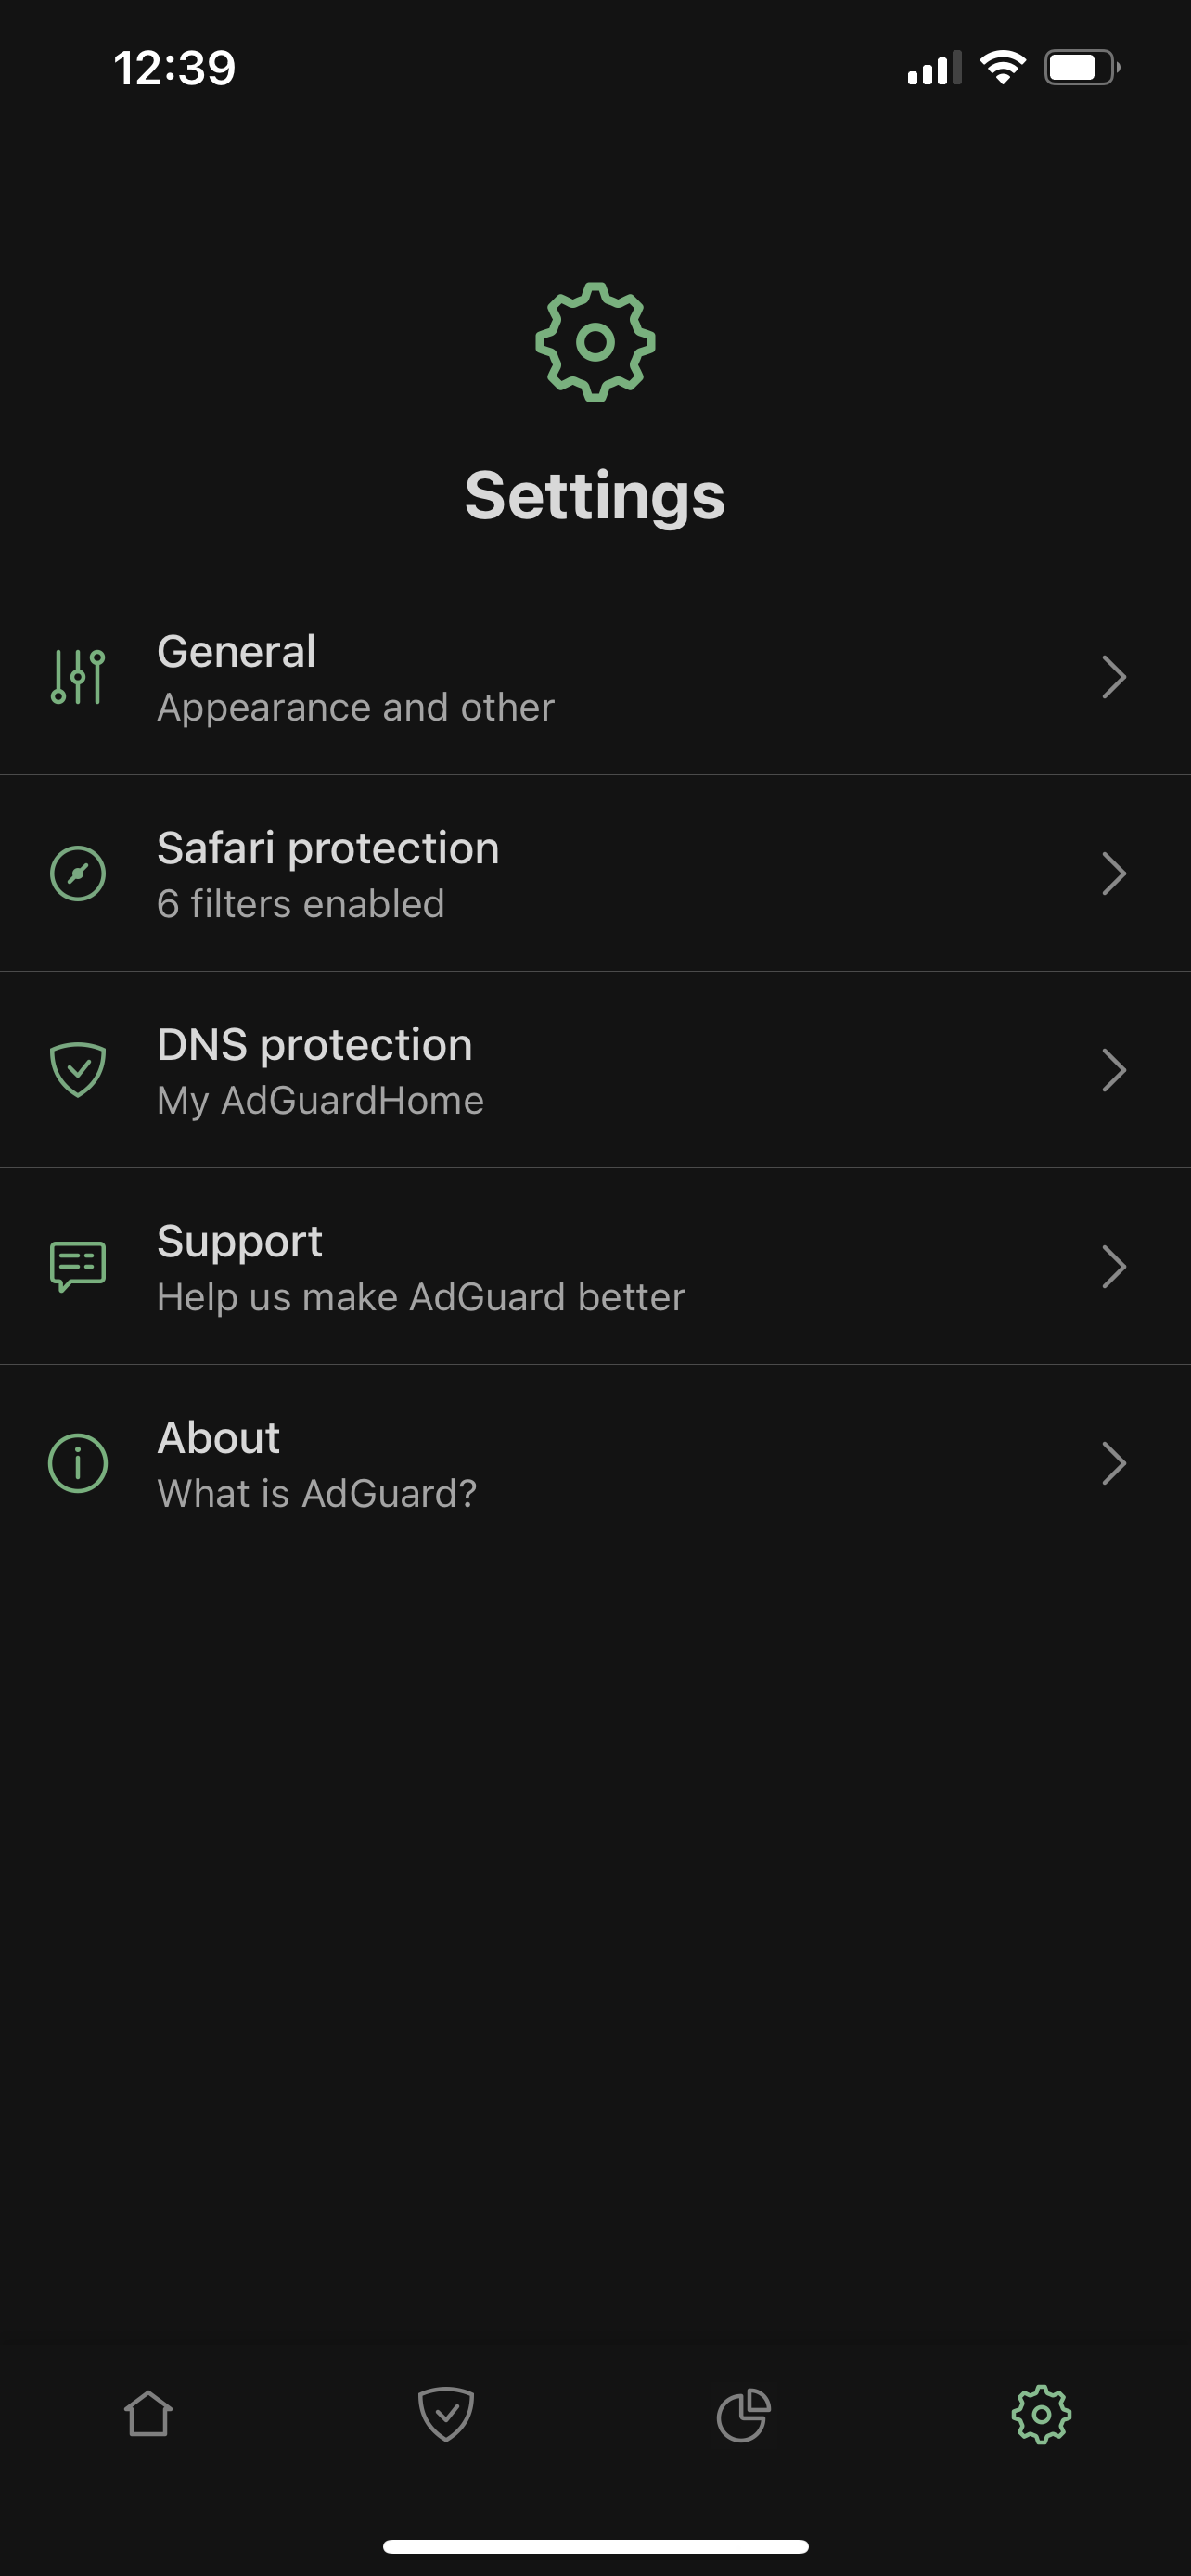
Top-notch ad blocking in Safari, anti-tracking protection and DNS privacy.
Website |
Reddit |
Twitter |
Telegram


AdGuard for iOS is an app that blocks ads in Safari browser at exceptional level, and also provides additional Premium features like configurable DNS settings, encrypted DNS support (DOH, DOT, DNSCrypt), and custom ad blocking subscriptions. To get more information and to download AdGuard for iOS, visit our website.
GitHub can be used to report a bug or to submit a feature request. To do so, go to this page and click the New issue button.
Note: for the filter-related issues (missed ads, false positives etc.) use our reporting tool.
If you want to help with AdGuard translations, please learn more about translating our products here: https://kb.adguard.com/en/general/adguard-translations
Here is a dedicated page for those who are willing to contribute.
You can submit an application to participate in AdGuard for beta-testing program. All necessary information on this topic can be found on the dedicated page.
To see the 'big picture', to watch current progress and to get an idea of approximate dates for upcoming AdGuard for iOS releases, see this page: https://github.com/AdguardTeam/AdguardForIos/milestones
brew install ruby
Add to your ~/.bash_profile
export PATH="/usr/local/opt/ruby/bin:$PATH"
export PATH="/usr/local/lib/ruby/gems/2.7.0/bin:$PATH"
Prepare and install Ruby bundler:
sudo gem install bundler
Configure bundler to use local directory for storing dependencies:
bundle config set --local path '.bundle/vendor'
Then run bundle install:
bundle install
IMPORTANT: before running Fastlane, you need to place the App Store Connect API key to fastlane/AuthKey.p8.
Then you can run Fastlane using a command like this:
bundle exec fastlane [lane]
Register your device:
bundle exec fastlane run register_device udid:"UUID" name:"Device name"
Run this command to get proper codesigning certificates:
bundle exec fastlane prepare
bundle exec fastlane tests-- run testsbundle exec fastlane build-- build version for App Store
Actions below are supposed to be used from CI only:
bundle exec fastlane adhoc-- build adhoc version (for inner testing)bundle exec fastlane increment-- increments build number, commits it to gitbundle exec fastlane testflight_beta-- upload previously built version to testflight
In the case when certificate expires, you may need to nuke the old certs and generate them again:
bundle exec fastlane match nuke development
bundle exec fastlane match nuke distribution
bundle exec fastlane generate
In order for fastlane to work properly in CI environment, we use spaceauth.
Run this command to generate FASTLANE_SESSION which you'll then need to use on the CI server:
bundle exec fastlane auth
Please visit the acknowledgements page


